Plastic Shed Base Kits: How to Fit One, and Are They Any Good?
Plastic grid shed bases promise a level foundation with no concrete. An honest look at when they work, when they do not, and exactly how to install one properly.
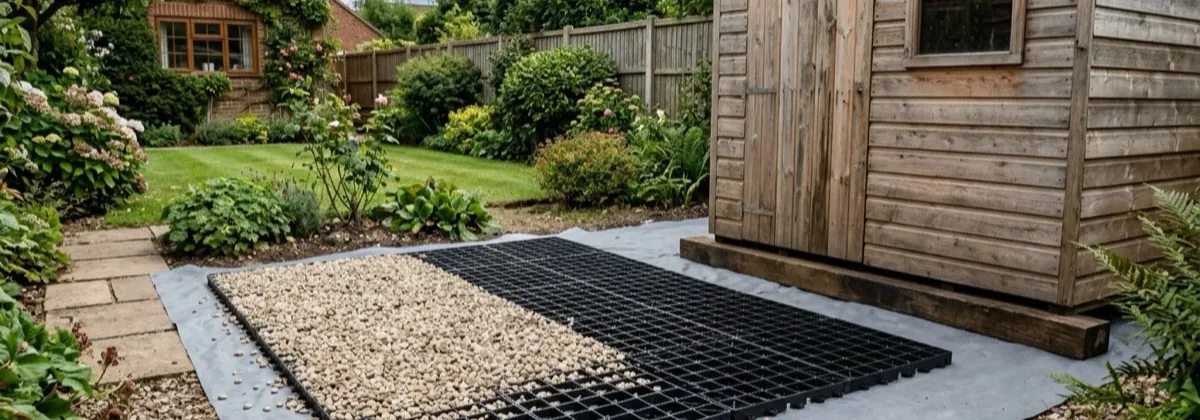
Plastic grid base kits are the biggest change in shed foundations in decades: a base you can lay in an afternoon with a spade, a rake and no cement mixer. They are genuinely good, within limits that the marketing rarely mentions. This guide gives you the honest verdict and then the exact installation method, because nearly every plastic base failure is an installation failure.
What They Are and Why People Use Them
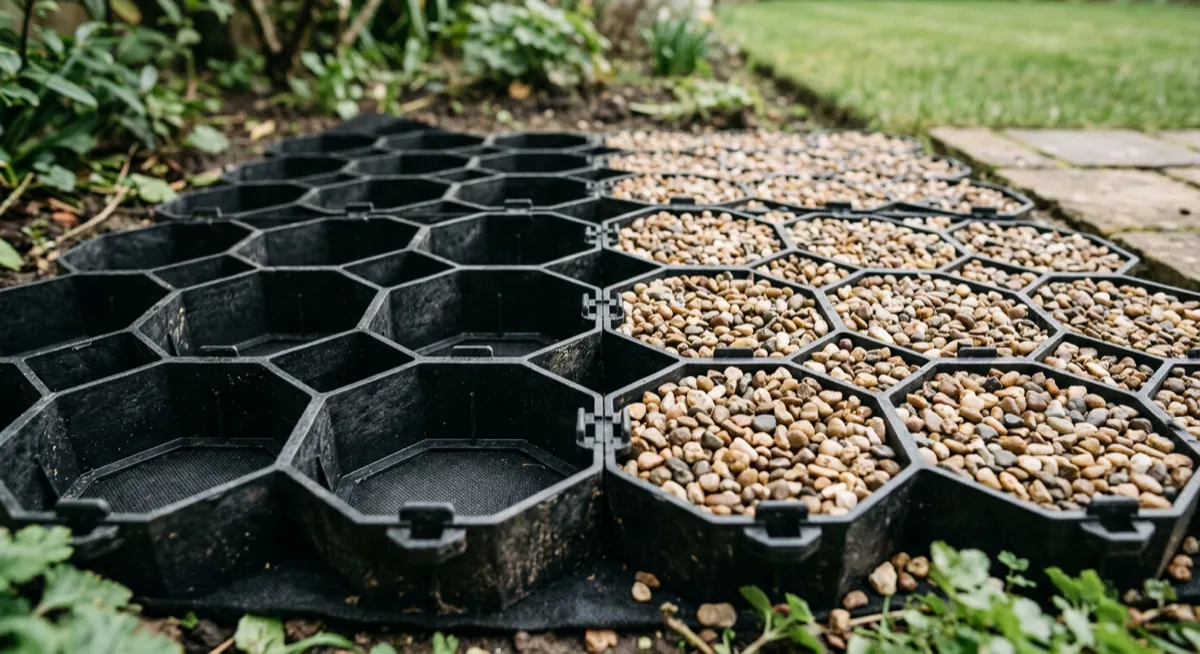
A plastic shed base is a set of interlocking honeycomb panels, usually recycled polypropylene, that clip together into a rigid raft. Laid on prepared ground over a weed membrane and filled with pea gravel, the cells confine the gravel so it cannot spread, and the filled raft spreads the shed's weight across the whole footprint.
The attractions are real:
- Speed: a 8x6 base is a two to three hour job, and you can build on it the same day, no curing time
- No concrete: no mixer, no barrowing, no waste, and the ground underneath is recoverable if you ever move the shed
- Drainage: rain drains straight through, so the shed floor sits on a dry, ventilated base rather than a puddle
- Weight: the kit for a typical shed arrives in two manageable boxes rather than a tonne of aggregate
The Honest Verdict: When They Work and When They Don't
Use a plastic grid base when:
- The shed is a typical garden shed, up to around 10x8, holding normal garden contents
- Your ground is reasonably firm and can be levelled, lawns, compacted soil, existing gravel
- You want the job done this weekend without hiring a mixer or paying for a groundworker
Stick with concrete or slabs when:
- The building is heavy: log cabins, workshops with machinery, anything with masonry. Grid ratings look enormous on paper but the limit is really the ground beneath, and heavy point loads find soft spots
- The site slopes more than a few centimetres across the footprint; grids follow the ground, they do not fix a slope. Level the ground first or build up properly
- The ground is soft, boggy or made-up fill; confined gravel on mud is still mud underneath
- You need to bolt down a metal or plastic shed, or a security shed with a ground anchor, those want concrete
Cost-wise, a quality 8x6 kit plus gravel lands around £100–£180, comparable to paving slabs, far less than ready-mix concrete once you price delivery, and far less effort than either. Our full foundation guide covers the traditional methods if your site rules the grid out.
Installation Step-by-Step
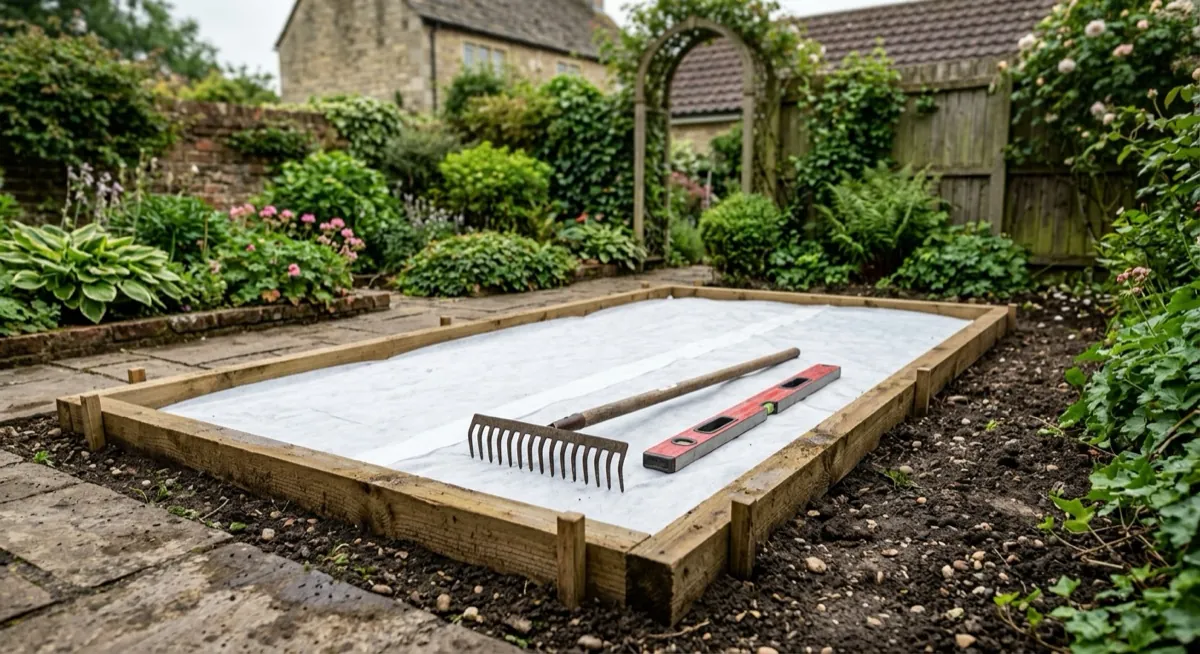
1. Mark out and excavate
Mark an area 50–100mm larger than the shed on every side with string lines, checking the diagonals match so it is square. Strip the turf and dig down 50–70mm, deep enough that the filled grid finishes at or just above the surrounding ground.
2. Level and compact
Rake the exposed ground level, then check it properly with a straight edge and spirit level, working both directions and the diagonals. Fill hollows with sharp sand rather than loose soil, then compact the whole area firm with a tamper or plate compactor. This step decides whether your shed sits level for twenty years; do not rush it.
3. Membrane and grids
Roll the weed membrane across the whole excavation with generous overlaps. Lay the grid panels on top and clip them together, staggering joints like brickwork if your kit allows. Trim edge panels with a handsaw if the footprint demands it.
4. Fill, check, build
Fill every cell with pea gravel (10mm is ideal), brushing it level with the cell tops. Run the level over the finished raft one last time, then place your bearers and build. No curing, no waiting.
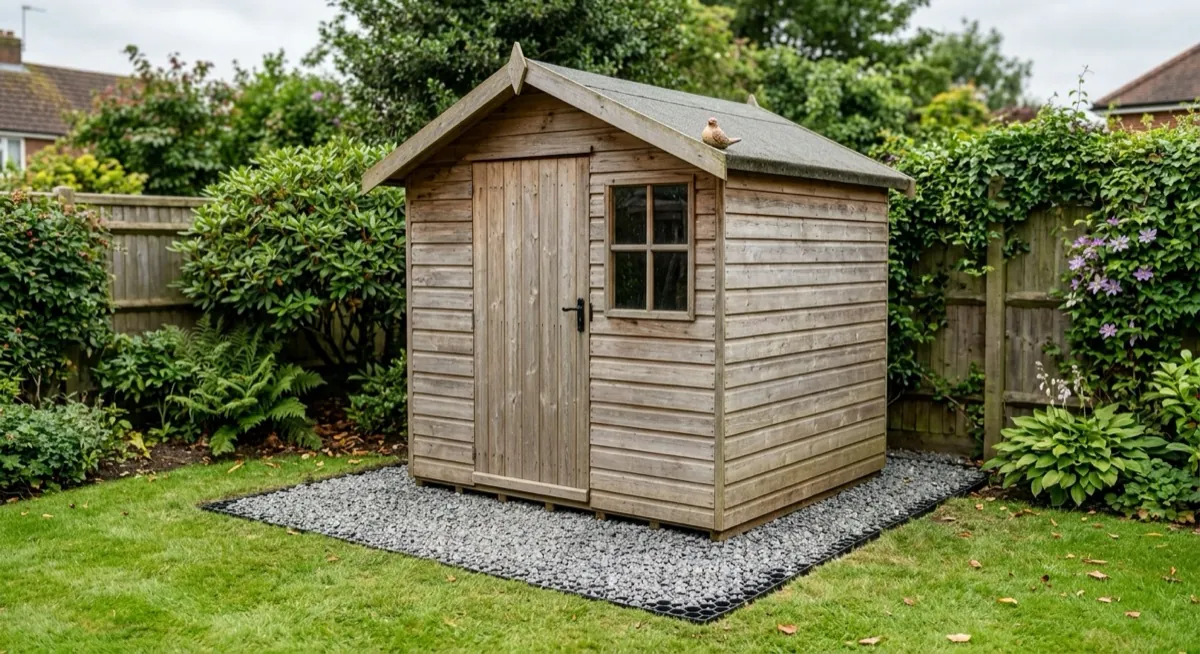
Kits are sold in the same nominal sizes as sheds (6x4, 8x6, 10x8). Buy the size that matches or slightly exceeds your shed footprint, never smaller: an overhanging shed edge concentrates load on unsupported floor.
Common Mistakes
The grid is not a levelling device. Every lump and hollow beneath it telegraphs straight through to the shed floor. Level first, always.
Unfilled grid is just plastic; the confined gravel is the structure. Empty cells crack under bearers and point loads.
Without it, weeds grow up through the gravel and the fill slowly works down into the soil. The membrane is in the kit for a reason.
Grids conform to the ground. On a slope you must cut and fill to a level platform first, or use a different foundation entirely.
Grid vs Concrete vs Slabs at a Glance
| Plastic grid | Paving slabs | Concrete slab | |
|---|---|---|---|
| Effort | Low (one afternoon) | Medium | High |
| 8x6 cost | £100–£180 | £120–£250 | £250–£500 |
| Build same day | Yes | Yes | No (curing) |
| Drainage | Excellent | Runoff only | Runoff only |
| Heavy buildings | No | With care | Yes |
| Bolt-down fixings | No | Limited | Yes |
| Reversible | Fully | Mostly | No |
Summary
- Plastic grid bases are a genuinely good foundation for ordinary garden sheds on firm, levellable ground
- The gravel fill and the ground prep do the work; the grid just confines them
- Level, compact, membrane, fill: skip any of the four and the base will tell on you
- Heavy buildings, slopes, soft ground and bolt-down sheds still want concrete or slabs
Base Sorted? Design the Shed
Use our free builder to design the shed that goes on top: full materials list, cutting plan and estimated cost for any size.
Open the Shed Builder