How to Waterproof a Shed: Roof, Walls, Base and Doors
Keep a shed dry for good. How water actually gets into sheds and the fix for every route: roof coverings, wall treatment, sealed joints, drainage and ground moisture.
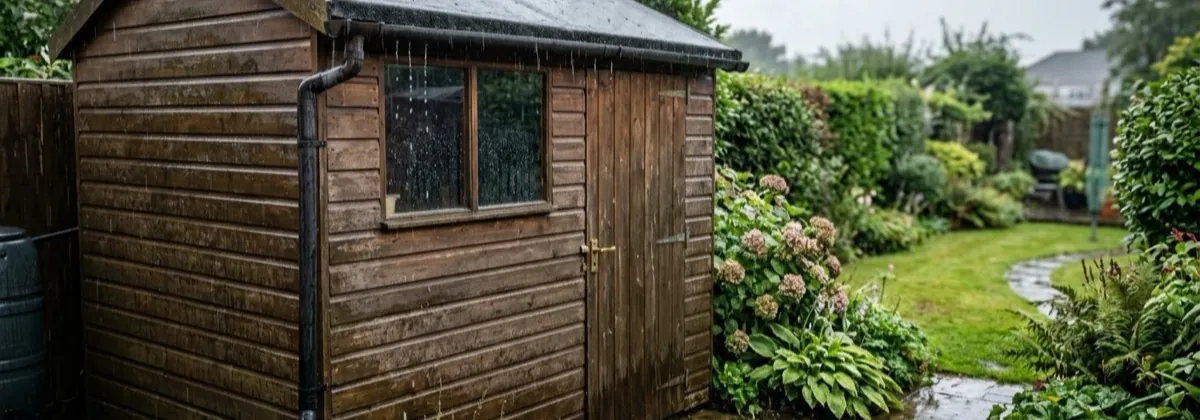
A shed only has to fail in one place to soak everything inside it. The good news: water takes exactly five routes into a garden shed, down through the roof, in through the walls, through unsealed joints, up from the ground, and out of the air as condensation. Close all five and the building stays dry for decades. This guide works through them in the order of likelihood.
Try the damp & condensation checker →
Answer five questions to get practical checks for the moisture you can see. Free, with no sign-up.
First, Find the Route In
Ten minutes of diagnosis saves a weekend of guesswork. Stand inside with the door shut on a bright day: any daylight through walls or roof is a water route, mark each one. Then look at the evidence:
- Stains running down from the ceiling or wet ceiling boards → roof covering
- A wet patch below a window or corner → failed joint or trim sealant
- Damp creeping up the bottom boards → ground contact or splash-back
- A wet floor with dry walls and ceiling → rising moisture through the base
- Everything slightly damp, worst on cold mornings, no stains → condensation, not a leak at all (see the last section)
If you can, look in during heavy rain, water announces its entry point live.
The Roof: Fix This First
The roof causes more wet sheds than everything else combined. Check the covering for cracks, tears, lifted laps and bald patches where the mineral surface has worn. Small felt tears patch with felt adhesive and an offcut; brittle, cracking felt across the slope means a re-cover, which is a half-day job covered step by step in our roofing felt guide.
- Refix lifted edges and laps with clout nails and adhesive before the wind exploits them
- Check the drip edge: felt should wrap over the fascia so water falls clear rather than tracking back along the underside into the wall top
- Consider EPDM rubber when re-covering: one seamless sheet, 20+ year life, excellent on flat and pent roofs
- Brush off moss, it holds a wet poultice against the covering all winter
Walls: Treatment Is Waterproofing
Bare or weathered timber drinks rain. A waterproofing wood stain or preserver, applied every one to three years, is what actually keeps wall timber dry; the grey, open-grained look of an untreated shed is water damage in progress. Brush off dirt and flaking finish, let the timber dry, and coat every face you can reach, paying double attention to end grain, bottom boards and the weather side. Product choice and technique are covered in our timber treatment guide.
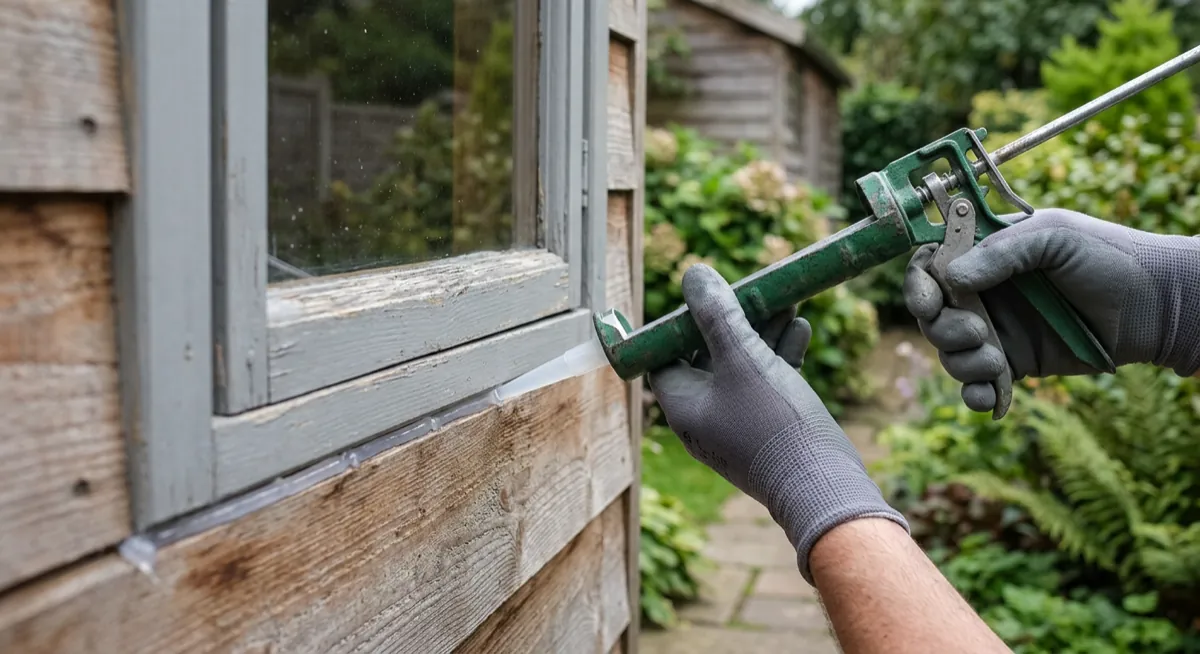
While the treatment dries, walk the building with a sealant gun and close the joints water loves:
Joints, Windows and Doors
- Window frames: seal where frame meets cladding, top edge especially, water running down the wall crosses the frame there
- Corner trims and fascias: gaps behind trims funnel water into end grain; seal the top edges
- Glazing: re-putty or re-bead loose panes, and replace cracked ones before winter
- Doors: a sagging door opens a gap at the top corner; ease and re-hang it square, then fit weatherstrip around the frame and a brush strip or weatherboard at the threshold to stop driven rain
- Split boards: fill small splits with exterior filler or sealant; replace anything soft, our maintenance checklist covers the probe-and-fix routine
Ground and Drainage: The Slow Soak
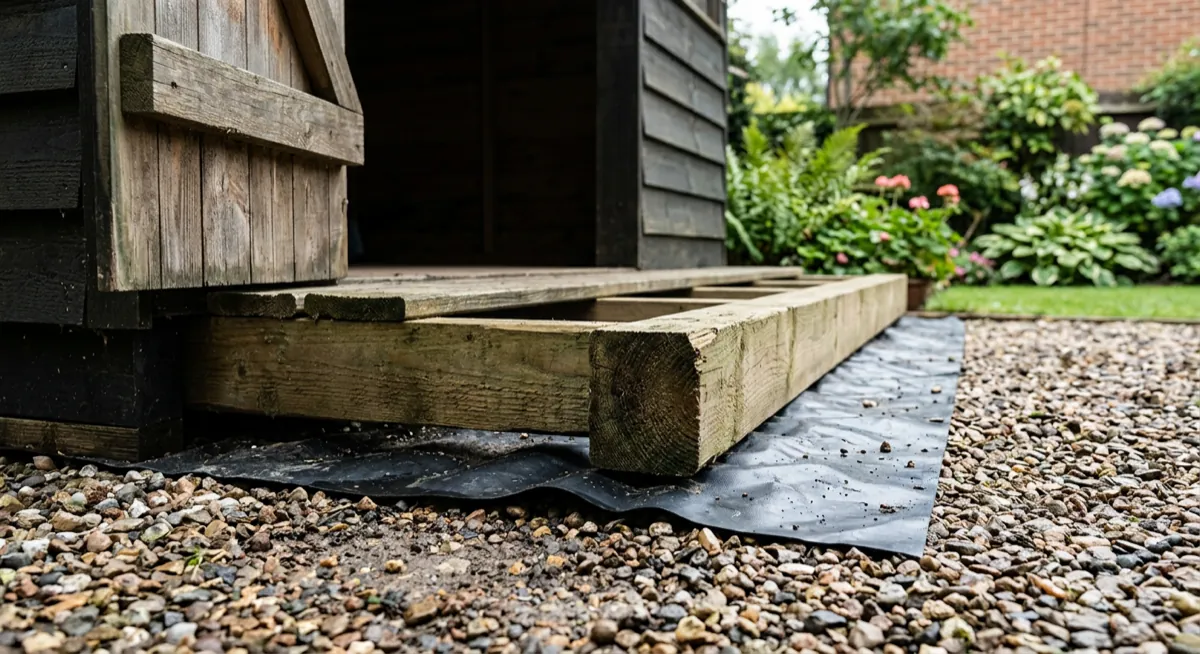
Rain you can see is less dangerous than the moisture you cannot. A shed floor in contact with damp ground wicks water continuously, and soil piled against bottom boards rots them from behind while the paint looks fine from the front.
- Restore the air gap: the shed should sit on bearers with visible airflow beneath. Rake out leaves and debris under the floor annually
- Membrane under the base: if you are building or re-siting, a damp-proof membrane under the bearers (or a free-draining plastic grid base) breaks the ground-to-floor moisture path
- Pull material back: keep soil, mulch, gravel and stacked items at least 50mm below floor level and off the walls entirely
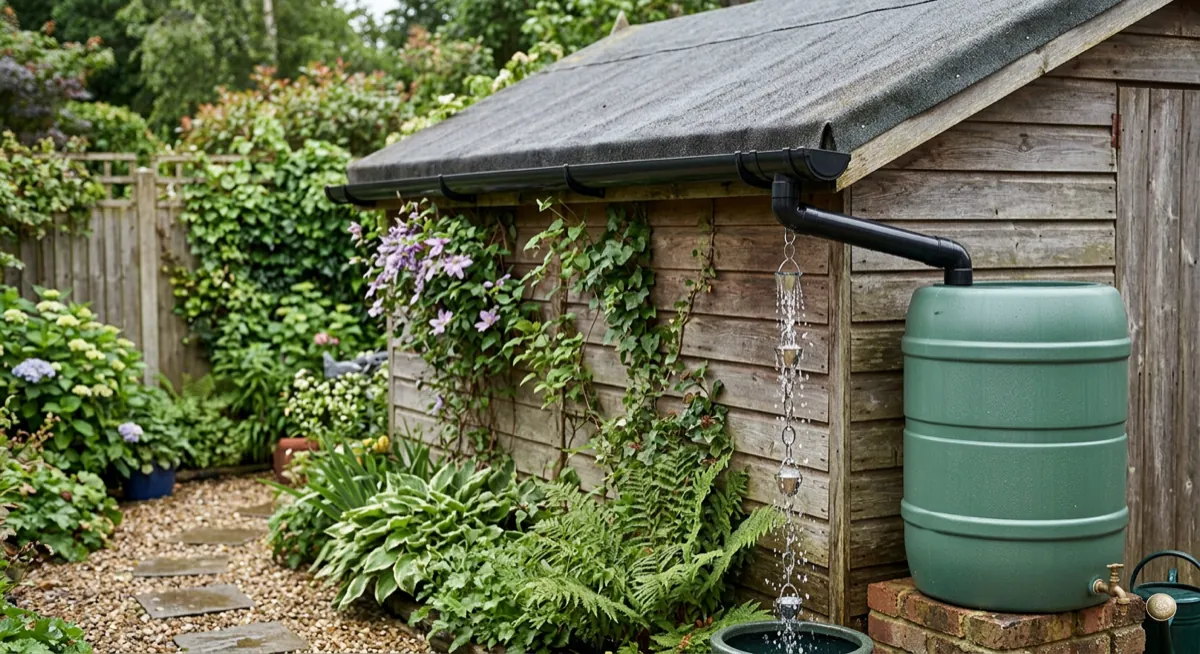
- Fit guttering: a £25 kit and a water butt takes the roof's entire rainfall away from the walls and base instead of dumping it at the foundation, the single best upgrade for a persistently damp shed
The Leak That Isn't: Condensation
If the shed is still damp, with a wet ceiling on cold mornings, rusting tools and a musty smell, condensation may be part of the problem. Sealing every opening can make it worse. Read our condensation guide to check the cause, then use the vent placement guide to plan a clear airflow route.
The goal is to keep liquid water out while letting air move. A shed sealed like a submarine traps humidity and rots from the inside. Seal joints; keep vents.
Summary
- Diagnose first: daylight check inside, then match the damp pattern to its route
- Roof first, it causes most wet sheds; patch or re-cover, and fix the drip edge
- Treatment is wall waterproofing; sealant closes the frame and trim joints
- Break the ground path: air gap, membrane, and guttering to carry the roof's water away
- Damp with no leak is condensation, ventilate, don't seal harder
Past Saving? Price a Replacement
If the rot has won, design a new shed with our free builder and get the complete materials list and cost in seconds.
Design a New Shed