The Annual Shed Maintenance Checklist
One honest afternoon a year keeps a timber shed alive for decades. The complete seasonal checklist: roof, treatment, base, doors, gutters and the early warning signs of rot.
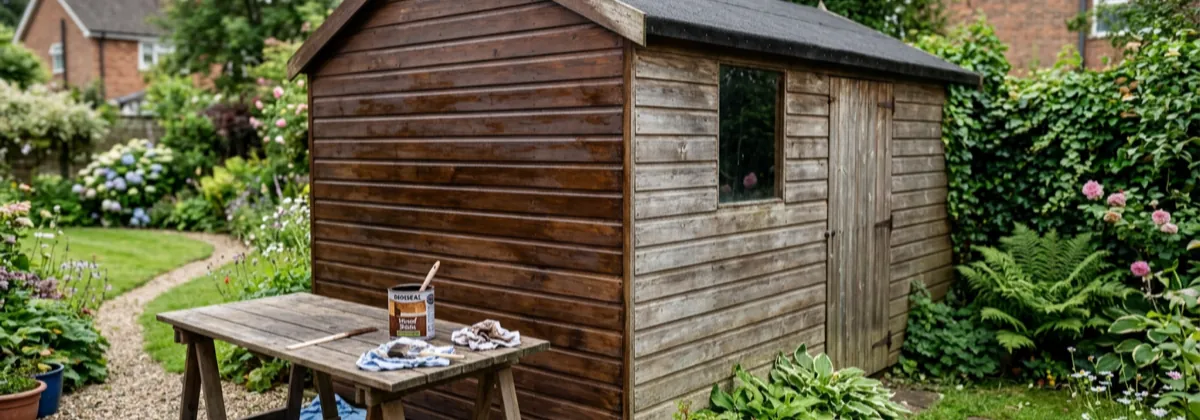
The difference between a shed that lasts eight years and one that lasts thirty is not the price tag, it is one honest afternoon of maintenance a year. Rot, rust and roof failures all give months of warning before they become expensive; this checklist is how you catch them. Work through the six areas below once a year and your shed will outlive its guarantee by decades.
Try the damp & condensation checker →
Answer five questions to get practical checks for the moisture you can see. Free, with no sign-up.
When to Do It
Early autumn is the ideal slot: the timber is dry from summer (treatment soaks in properly), and you find roof and drainage problems before winter tests them. A lighter spring once-over, mainly the roof and gutters after winter storms, completes the routine. If you only do one, do autumn.
Pick a dry day with a dry forecast behind it if you are treating timber; most preservers want 24–48 hours before heavy rain.
1. The Roof: Ten Minutes That Save the Building
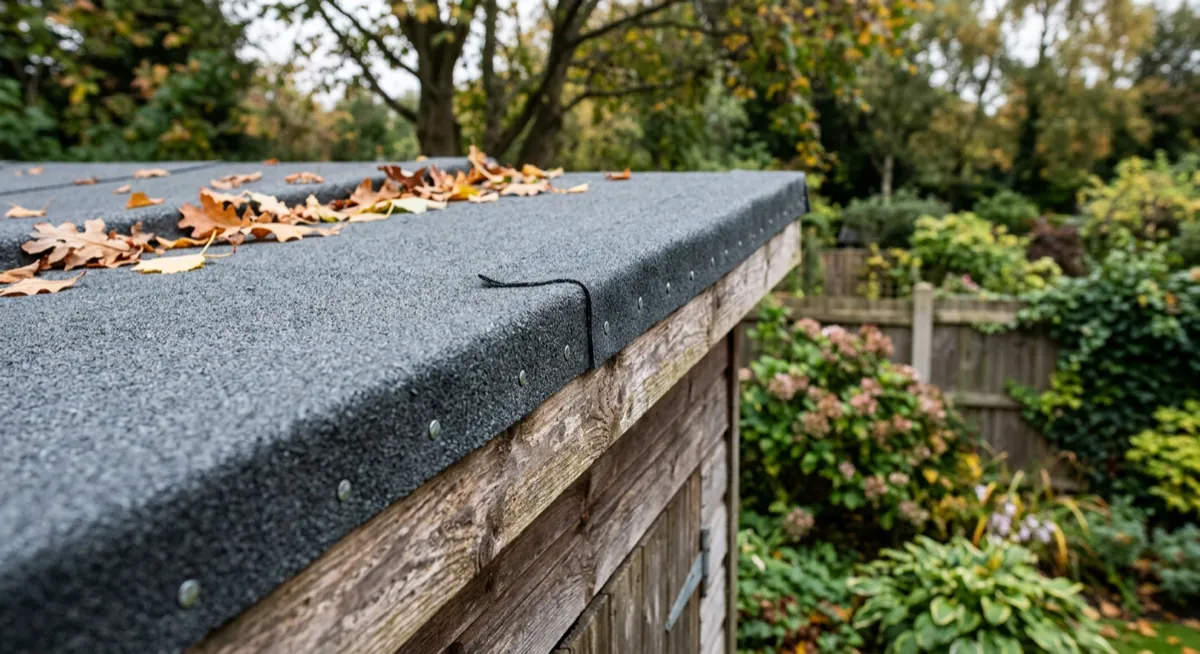
Almost every dead shed died from the top down. Get eye-level with the roof (a step ladder, not standing on the framing) and check:
- Tears, cracks and blisters in the felt, especially along the ridge and the sun-facing slope where felt ages fastest
- Lifted edges and laps: wind gets a fingernail under these, then removes the sheet in the next storm. Refix with clout nails and felt adhesive
- Ponding on flat or pent roofs, a sign the deck is sagging
- Moss: brush it off; it holds water against the felt all winter
- Overhanging branches that abrade the covering in wind, cut them back
Small tears patch fine with felt adhesive and an offcut. Widespread cracking or brittle felt means a re-cover; our step-by-step felt guide makes it a half-day job.
2. Base and Floor: The Quiet Failure
Squat at each corner and sight along the base. You are looking for:
- Level: doors that have started catching are usually a settling base, not a swollen door. A corner can be re-packed under the bearer in half an hour now, or become a twisted frame next year.
- Bearer condition: probe the bearers with a screwdriver. Soft, dark or crumbly means rot has started; a rotten bearer is replaceable, a rotten floor is a rebuild.
- Ground contact: soil, mulch or gravel creeping up against the floor edge wicks water straight into the timber. Pull it back to restore the air gap.
If the base itself has failed, sort it properly with our foundation guide before it wrecks the building on top.
3. Clear the Perimeter
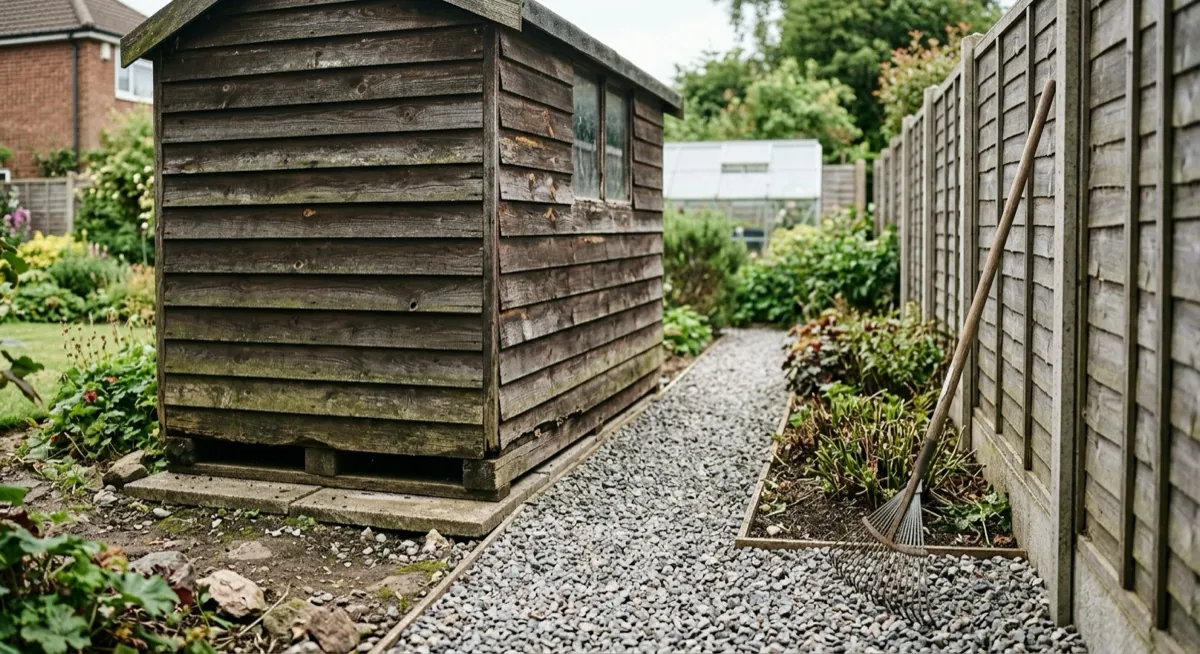
Timber survives getting wet; it dies from staying wet. Once a year, restore the drying conditions:
- Cut vegetation back to leave at least 300mm of clear air on every side, plants touching the walls hold moisture against the cladding permanently
- Rake leaves and debris out from under and behind the shed so air moves beneath the floor
- Clear any guttering and downpipes; an overflowing shed gutter soaks one wall all winter. No gutters? A water butt kit is a cheap upgrade that also protects the base
- Check nothing is stacked against the outside walls (firewood is the classic offender)
4. Timber: Probe, Fill, Treat
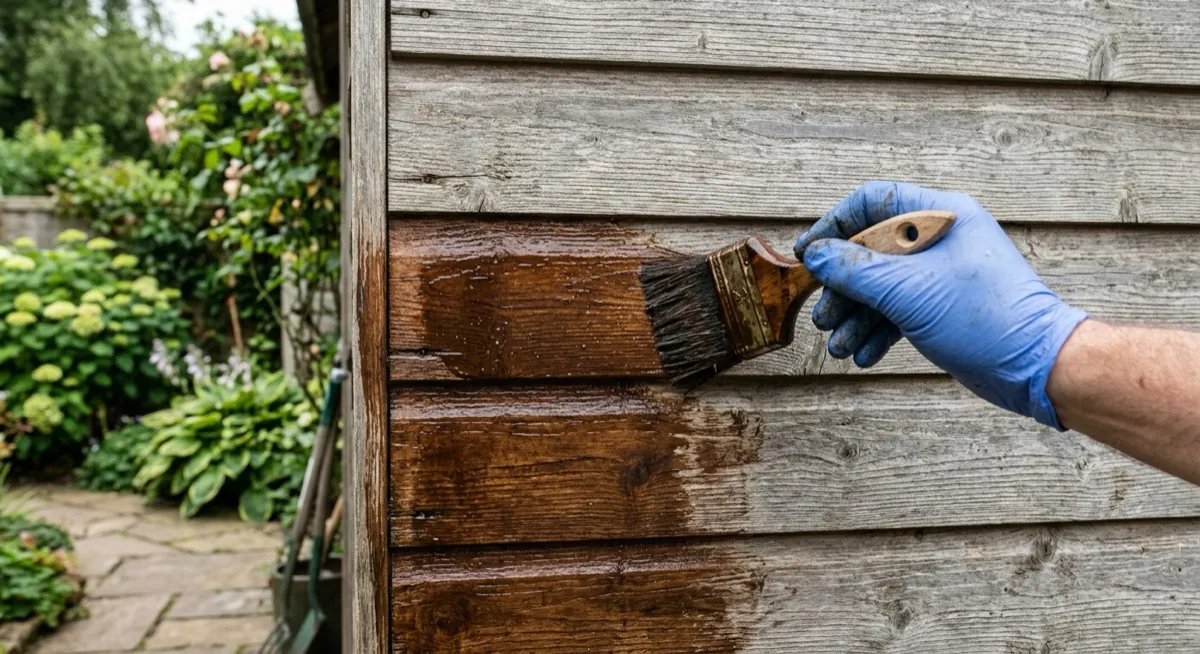
Work around the building with a screwdriver and probe the vulnerable spots: bottom boards, corners, window sills, door frames and anywhere the grain shows grey and open. Sound timber resists the probe; rot feels soft and springy.
- Small soft spots: dig out, let dry, treat with preserver, fill with exterior wood filler
- A rotten board: replace it, cladding boards are cheap and swap individually
- Splits and open joints: exterior sealant before winter, water that gets into end grain does not leave
Then the main event: re-treat the timber. Brush off dirt and any flaking old finish, and apply a quality preserver or shed treatment on the schedule your finish demands, every year for basic treatments, every 2–3 for premium stains and pressure-treated timber. Pay double attention to end grain, sills and the weather side. Our timber treatment guide covers products and technique in full.
A 5L tin covers a typical 8x6 shed with two coats. Buying it once a year costs less than a single replacement cladding pack, and a tenth of a replacement shed.
5. Doors, Windows and Metalwork
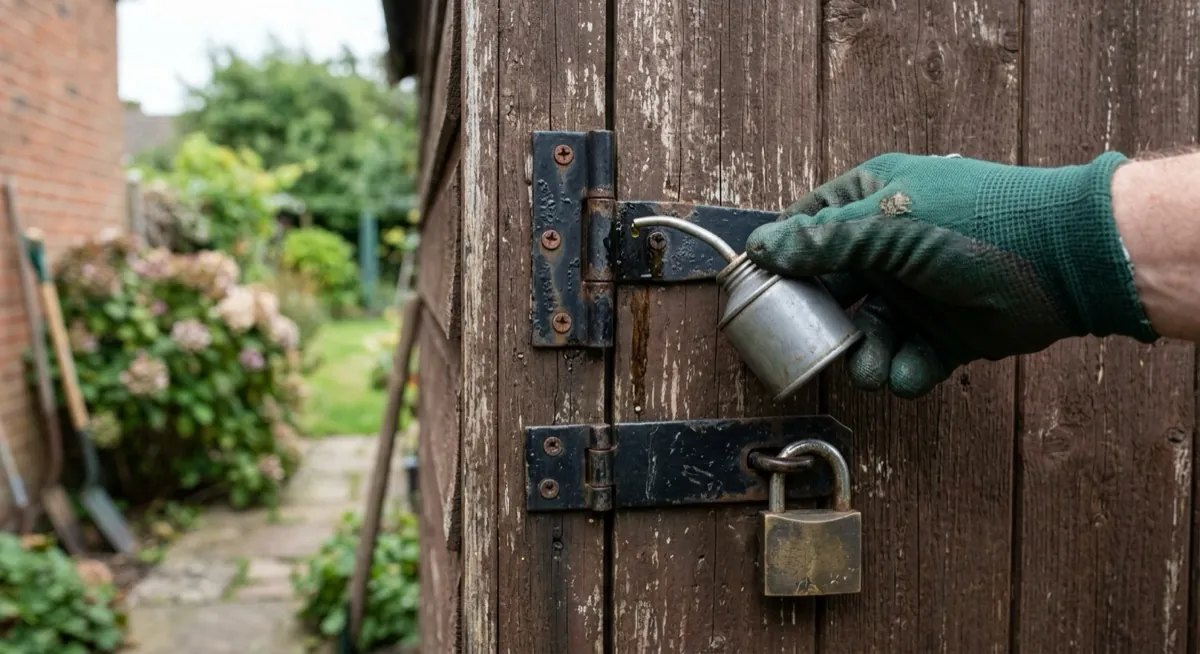
- Hinges, hasp and lock: a drop of light machine oil in each; work the door and key a few times. Tighten every screw, thieves exploit loose fittings, and swap any rusted screws for coach bolts while you are there (see the security guide)
- Sticking door: find the rub mark, plane or ease it, and reseal the bare edge, an unsealed planed edge drinks water
- Glazing: check putty or beading, reseal gaps, and replace cracked panes before winter wind finds them
- Felt nails and metal roof fixings: tap home any that have lifted
6. Inside: The Five-Minute Finish
Finish with the interior, torch on, door shut, on a bright day:
- Daylight through walls or roof means a gap that lets water in, mark and seal it
- Damp patches, mould or a musty smell point at condensation or a leak; our condensation guide tells them apart and fixes both
- Rust bloom on tools is the early condensation alarm, act on it rather than re-oiling the tools every month
- Lift anything stored directly on the floor onto battens or shelves so air can circulate
The Checklist
The whole routine, in order, for the notice board inside the shed door:
| # | Job | Time |
|---|---|---|
| 1 | Roof: check felt, laps, moss, branches; patch and refix | 20–40 min |
| 2 | Base: check level, probe bearers, pull back ground contact | 15 min |
| 3 | Perimeter: cut back plants, clear under-floor and gutters | 30 min |
| 4 | Timber: probe, fill, replace, then re-treat all faces | 2–3 hrs |
| 5 | Doors and metalwork: oil, tighten, ease, reseal | 15 min |
| 6 | Inside: daylight check, damp check, lift storage off floor | 10 min |
Summary
- One autumn afternoon a year is the whole cost of a multi-decade shed
- Roof first: nearly every shed failure starts at the top
- Keep timber able to dry: air gaps below, clearance around, treatment on
- Probe early, fix small: a soft sill is a filler job this year and a rebuild in three
- Oil the metalwork and ease the doors while the brushes dry
Beyond Saving? Start Fresh
If this year's inspection found more rot than shed, design a replacement with our free builder and get the full materials list and cost.
Design a New Shed