How to Treat and Preserve Shed Timber
A joiner's guide to treating and preserving shed timber against rot, blue stain, UV and insect. Covers products, end grain, application and a maintenance schedule.
Timber is a brilliant material for a shed, but left bare and exposed to a British winter it does not last. Treating and preserving the wood is the single cheapest thing you can do to add years to a shed, and it takes an afternoon. This guide explains what attacks shed timber, the difference between a preservative and a decorative finish, where to treat first (the end grain), how to put it on properly, and the maintenance schedule that keeps it sound. Get this right from day one and you will not be rebuilding the bottom rail in five years.
The best time to treat a shed is before it goes up, while you can still reach every face and every cut end. The next best time is the day it arrives. Either way, work on dry timber, on a dry day, and read the tin: products differ on coverage, coats and drying.
Why Treat Shed Timber?
Untreated softwood outdoors is under attack from four directions, and a good treatment defends against all of them.
- Rot (fungal decay) - the big one. Wet timber, above roughly 20 percent moisture content and kept that way, feeds the fungi that cause wet and dry rot. Once it takes hold it eats the structure and there is no fixing it; you replace the wood.
- Blue stain (sap stain) - a dark, bluish-grey discolouration that grows in the sapwood of damp timber. It does not weaken the wood much, but it looks awful and it is a sign the timber is staying too wet.
- UV from sunlight - ultraviolet breaks down the surface of bare timber, turning it silver-grey, raising the grain and making it rough and thirsty. UV is what fades and tires a finish faster than anything else, especially on south-facing faces.
- Insect attack - woodworm and other wood-boring beetles lay in untreated timber and the larvae tunnel through it. A preservative with an insecticide keeps them out.
Damp is the common thread. Keep the timber dry and shed water off it, and most of these problems never get going. That is why treatment and good detailing go hand in hand. If your shed suffers from interior damp as well, read our guide on how to stop shed condensation, because internal moisture rots timber from the inside just as surely as rain does from the outside.
Pressure Treated (Tanalised) Timber
A lot of shed timber now comes pressure treated, often called tanalised after the Tanalith brand. The timber is loaded into a vessel and preservative is forced deep into the wood under pressure, rather than just sitting on the surface. That gives proper protection against rot and insect, right through the section, and it is the gold standard for ground-near and structural parts.
Here is the catch people miss: pressure treatment protects against decay and insect, but it does very little for appearance or for UV. Tanalised timber still weathers to grey and still benefits from a coloured treatment or oil over the top to keep it looking smart and to slow the UV.
The moment you saw a piece of tanalised timber, you cut through the treated outer zone and expose raw, untreated wood in the middle. That fresh end grain has no protection at all. Flood every site cut with an end grain preservative before it goes anywhere near the ground or weather.
Types of Product
The tin wall in the shop is confusing because two different jobs are on the same shelf: preserving the timber, and finishing it. Here is how the common products break down.
| Product | What It Does | Penetration | Best For |
|---|---|---|---|
| Water based preservative | Protects against rot, blue stain and insect; low odour, low solvent | Good | General treatment, indoor and out, easy clean-up |
| Solvent based preservative | Same protection, carried in a solvent that penetrates deeper | Deeper | Exposed and structural timber, end grain |
| Spirit based preservative | Thin, fast-penetrating; soaks well into dry timber and end grain | Deepest | Soaking cut ends and hard-to-reach end grain |
| Coloured shed & fence treatment | Adds colour, sheen and UV resistance; some include preservative | Surface | The decorative top coat over a preservative |
| Wood oil | Nourishes the timber, repels water, mellow natural finish | Surface | A natural-look top coat, smooth-planed timber |
The key distinction is between a preservative and a decorative finish. A preservative soaks into the wood and fights rot, stain and insect, but it gives little colour and not much weather resistance on its own. A decorative finish, such as a coloured shed and fence treatment or an oil, sits more on the surface and handles colour, sheen and UV. The proper job on bare or freshly cut timber is a clear preservative first, then a coloured treatment or oil over the top. Many off-the-shelf coloured treatments now combine both in one tin, which is fine for a quick refresh, but for a new build or exposed timber a dedicated preservative underneath earns its keep.
Let a solvent or spirit based preservative dry fully before a water based coloured treatment goes over the top, and check the labels say they are compatible. As a rule, water based over solvent based is fine once dry; the other way round can lift. When in doubt, stick to one manufacturer's system.
Treat Before Assembly Where You Can
If you are building a shed from a kit or from scratch, treat the timber before it goes together. Once the shed is built, the faces where two boards meet, the back of the cladding, the underside of the floor and the ends tucked into joints are all sealed away where neither weather nor your brush can reach. Those hidden faces are exactly where trapped damp sits and rot starts.
Lay the components out on trestles or across a couple of bearers, and coat all four faces plus the ends. It is slower than slapping a coat on a finished shed, but it is the difference between protecting the whole piece and protecting only the bit you can see. If you are designing a build, our free shed builder tool gives you a full cut list so you can treat the right quantities before assembly.
Cut Ends and End Grain: The Weak Point
If you remember one thing from this guide, make it this: end grain is where water gets in. Timber is a bundle of tiny straws running along its length. Cut across them and you expose the open ends of those straws, which wick water up into the heart of the timber far faster than the sealed side faces ever do. Every cut end, every mitre, every notch is a thirsty mouth.
- Treat every cut end - As soon as you make a cut, treat the fresh end before fitting the piece. Do not leave it for "later", because later is when it goes in the wet.
- Soak, do not skim - Flood the end grain with a spirit or solvent based preservative and keep applying until the timber stops drinking it in. One quick wipe is not enough; the open grain wants a proper drink.
- Stand ends in a tray for the worst spots - For posts and bearers that sit near the ground, standing the cut end in a shallow tray of preservative for a few minutes gets it right up into the grain.
- Re-coat once dry - End grain takes so much that a second application after the first has soaked in is well worth it on exposed and ground-near timber.
Applying the Treatment
How you put it on matters as much as what you put on. The goal is penetration: getting the product into the timber, not just onto it.
- Prepare the surface - The timber must be clean and dry. Brush off dirt, cobwebs and any green algae, scrape back old flaking coatings, and let damp timber dry out first. A moisture meter reading under 20 percent is the target; if it feels cold and damp, leave it.
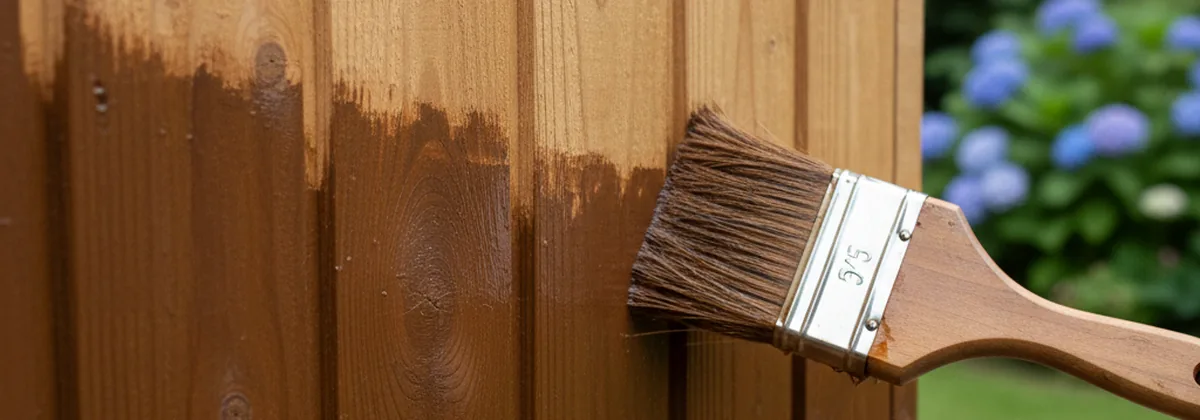
- Brush for best penetration - A brush works the product into the grain, the joints and the rough sawn texture better than anything. For a small shed, brushing the lot is the proper way.
- Spray then back-brush on big areas - On a large shed or a run of fencing, a pump or HVLP sprayer speeds things up, but always follow the spray with a brush (back-brushing) to push it into the timber rather than leaving it sitting on the surface.
- Lay on a generous first coat - Work along the grain, keep a wet edge, and do not starve it. The first coat is mostly soaking in.
- Apply a second coat - Once the first coat has soaked in and dried for the time the tin states, apply a second coat. Two coats is the standard for proper protection; one thin coat is not enough.
- Add a decorative finish if wanted - When the preservative is dry, a coloured treatment or oil over the top gives colour and UV protection.
Do not treat if rain is falling or due before the coat can dry, or the product washes off before it bonds. Equally, avoid full hot sun, which flashes the surface off before the timber can take it in, leaving a patchy, surface-only film. A dry, mild, overcast day is ideal.
Coverage and drying. Coverage varies a lot with the timber. Smooth planed timber might give 8 to 12 square metres per litre, while thirsty rough sawn timber can drop to 4 to 6 square metres per litre, and end grain swallows far more. Always work to the figure on the tin and buy a bit extra. Most water based products are touch dry in an hour or two and ready for a second coat in four to six hours; solvent and oil based products take longer, often overnight. Do not rush the recoat: if you go over too soon you trap solvent and the finish stays soft.
Ground Contact and the Bottom Rail
The bottom of a shed always fails first. The bottom rail and floor bearers sit closest to the ground, catch the splashback every time it rains, and stay damp longest because they are shaded and slow to dry. Sitting timber straight on wet ground or grass is asking for rot.
- Keep timber up off the ground - Stand the shed on a dry, level base, ideally on bearers, paving slabs or a concrete pad, so the bottom rail is clear of standing water and splash. Even an inch of air underneath makes a big difference.
- Use the right timber low down - The bottom rail, bearers and any post in or near the ground should be pressure treated, rated for the contact, not just brush-treated softwood.
- Treat the bottom rail thoroughly - Soak the end grain and the underside well, and re-treat the bottom rail more often than the rest of the shed, because it weathers fastest.
- Keep it draining - Clear grass, leaves and soil away from the base so water runs off and air can get under, rather than piling up against the timber.
If you are at the planning stage, getting the base right is half the battle. Our guide on how to build a shed foundation covers raising the shed off wet ground properly.
A Sensible Maintenance Schedule
Treatment is not a one-off. A coat of anything weathers, and the trick is to top it up before it has worn through, not after the timber has gone grey and started taking in water.
- Inspect every year - Once a year, ideally in spring, walk round the shed. Look for grey, dry-looking timber, flaking finish, green algae, and any soft or spongy wood, especially the bottom rail, end grain and south-facing faces.
- Do the water test - Splash a little water on the cladding. If it beads and runs off, the finish is still working. If it soaks straight in and darkens the timber, it is time to recoat.
- Recoat every two to three years - As a rule of thumb, plan to recoat the decorative treatment every two to three years, or whatever interval the product states. Exposed and sunny faces may need it sooner.
- Patch problem spots early - Touch in the bottom rail, window sills and any cut ends as soon as they look tired, rather than waiting for the whole-shed recoat.
Common Mistakes to Avoid
Treatment will not soak into wet, mossy or grimy wood; it sits on top and peels. Clean it off and let the timber dry to under 20 percent moisture before you start.
The cut ends drink up water and are the first to rot, yet they are the easiest to skip. Soak every cut end until it stops taking the preservative in.
A single skimped coat looks fine for a month then fails. Lay on a generous first coat to soak in, then a proper second coat for the protection that lasts.
Rain washes a fresh coat off and hot sun flashes it before it can soak in. Pick a dry, mild, overcast day and keep an eye on the forecast.
Summary
Treating shed timber properly is simple work that pays off for years:
- Know the threats - rot, blue stain, UV and insect, all driven by damp
- Tanalised timber still needs a coloured treatment for UV, and every site cut needs the end grain soaked
- Preservative first, decorative finish over the top - they do two different jobs
- Treat before assembly and soak every cut end and length of end grain
- Brush it in, two coats, never in the rain or full sun
- Keep timber off wet ground and look after the bottom rail
- Inspect yearly and recoat every two to three years
Do the job once, do it right, and keep on top of it. That is how a timber shed lasts decades instead of years.
Planning a Timber Shed That Lasts?
Use our free shed builder tool to design your shed and get a complete materials list, so you can treat the right timber before it ever goes up.
Start Building Now