How to Turn a Shed into a Garden Office
Convert a garden shed into a comfortable, year-round home office. The full process: choosing a suitable shed, insulation, power, lining, heating and the rules you need to know.
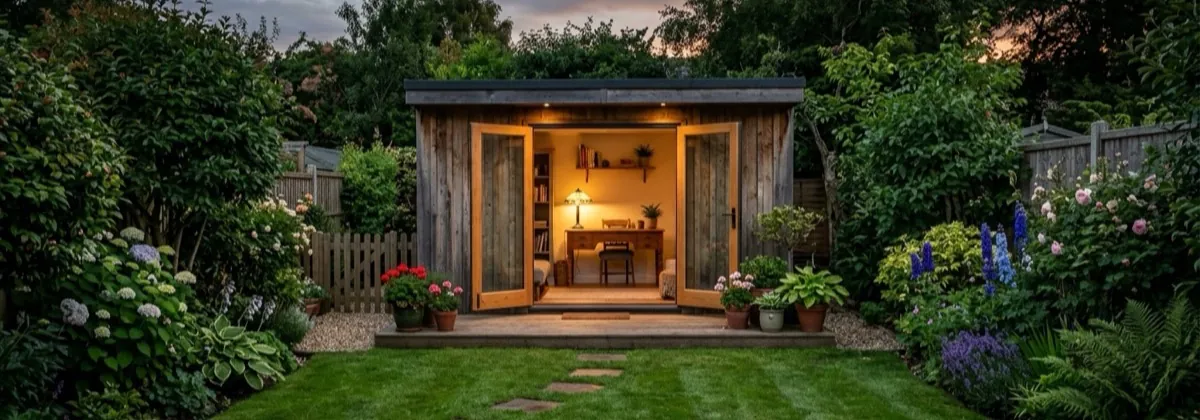
A garden office is the best commute you will ever have. Converting a shed into one is a genuinely achievable project: the difference between a draughty shed and a room you can work in all year is insulation, power, and a weekend or two of methodical work. This guide walks the whole route, in the order that avoids doing anything twice.
Structure → power → insulation → lining → finishes. Every conversion that goes wrong goes wrong by lining walls before the electrician arrives, or insulating a shed that leaks.
Is Your Shed Suitable? (And What to Buy If Not)
Not every shed earns an office conversion. Check these before committing money:
- Structure: framing of at least 44x44mm (ideally 47x70mm+), sound cladding, no rot in the floor or bearers. Push hard on the walls; meaningful flex means the lining will crack.
- Height: you want 2m+ of internal headroom after insulating the floor and roof. Low pent sheds can end up oppressive.
- Weathertightness: fix the roof covering and any leaks first. Insulating a damp shed just hides the rot while it spreads. Our roofing felt guide covers a re-felt.
- Base: a shed that rocks or sits on soft ground needs the foundation sorted before anything else.
- Windows: an office needs natural light. One decent window minimum, ideally facing away from your screen.
If the survey fails, or you are starting from scratch, you have two good routes: design a purpose-built office shed with proper framing in our shed builder (there is a garden office preset), or buy a thick-walled log cabin that is insulated by its construction and skips half of this guide.
Rules and Permissions: The Five-Minute Check
Most shed-to-office conversions are fine without any paperwork, but check these three things, in this order:
- Planning permission: a garden building used as a home office is usually permitted development if it meets the outbuilding limits (single storey, max 2.5m within 2m of a boundary, under half the garden). Using it for business visits or employees muddies this. Full detail in our planning permission guide.
- Building regulations: a detached garden office under 15m² with no sleeping accommodation is normally exempt. Between 15m² and 30m² it should generally be 1m from boundaries or built of substantially non-combustible material.
- The electrics are never exempt: outdoor mains work is notifiable under Part P. Use a registered electrician who self-certifies, and keep the certificate for resale.
Power First, Always
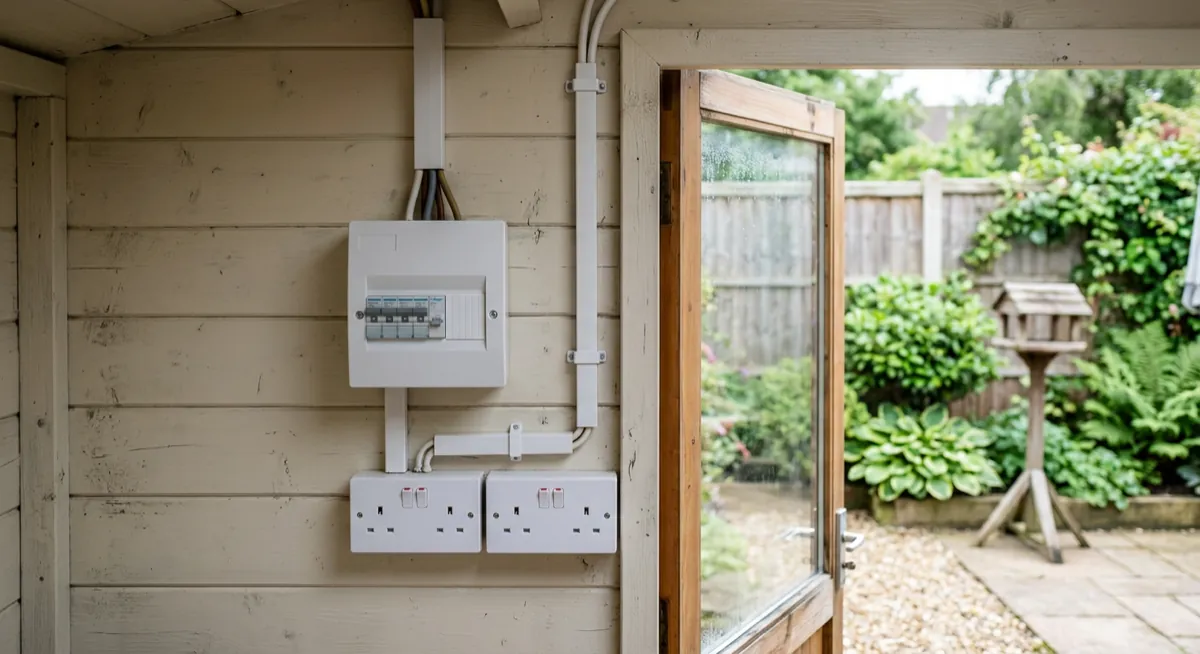
Get the electrician in before you insulate or line anything, so cables run neatly through the framing rather than being surface-clipped over your finished walls. A typical garden office supply is armoured (SWA) cable from the house consumer unit, buried or clipped along a fence line, into a small garage-style consumer unit in the office. From there: a ring or radial for sockets, a lighting circuit, and ideally a spare way for future heating.
Plan the socket positions around a desk you have actually measured. Four double sockets is a sensible minimum for a one-person office once you count monitors, laptop, lamp, heater, router and chargers. Our shed electrics guide explains the full setup and what the electrician will need from you.
Insulation: Where the Comfort Comes From
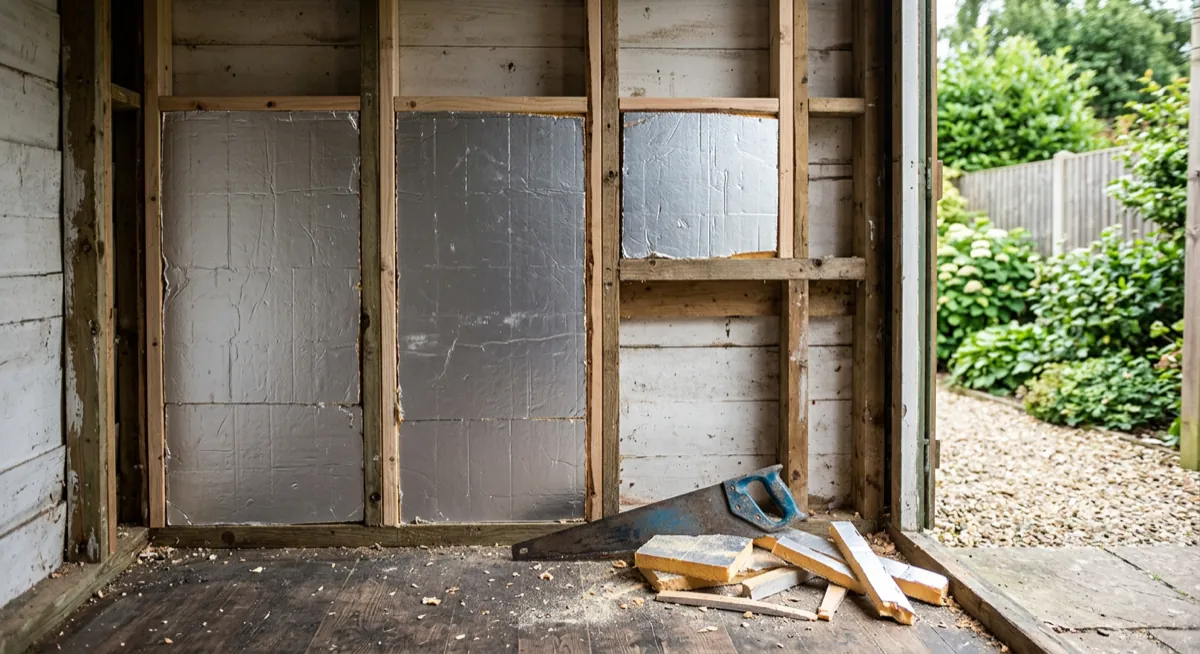
Rigid PIR boards (Celotex/Kingspan type) are the right tool for a shed office: the best insulation per centimetre, easy to cut with a fine saw, and they do not slump. The method for every surface is the same, and our full insulation guide covers it step by step:
- Walls: 50mm PIR between the studs, leaving a 25mm air gap between insulation and the outer cladding so the timber can dry. Tape all joints with foil tape.
- Roof: heat leaves upwards; use at least as much as the walls (50mm if the rafters allow, never less than 25mm) plus the same air gap under the roof deck.
- Floor: 25mm+ PIR over the existing boards with a floating chipboard or ply deck on top, or between the joists if you can get underneath.
- Vapour control: a polythene VCL (or well-taped foil facings) on the warm side stops moist indoor air condensing inside the walls. Skipping this is how conversions grow mould.
An insulated office still needs ventilation sized for the people using it. A humidity-controlled extractor alone does not measure stale air or carbon dioxide. See our insulated shed ventilation advice for the options, and the condensation guide for moisture problems.
Lining and Finishing
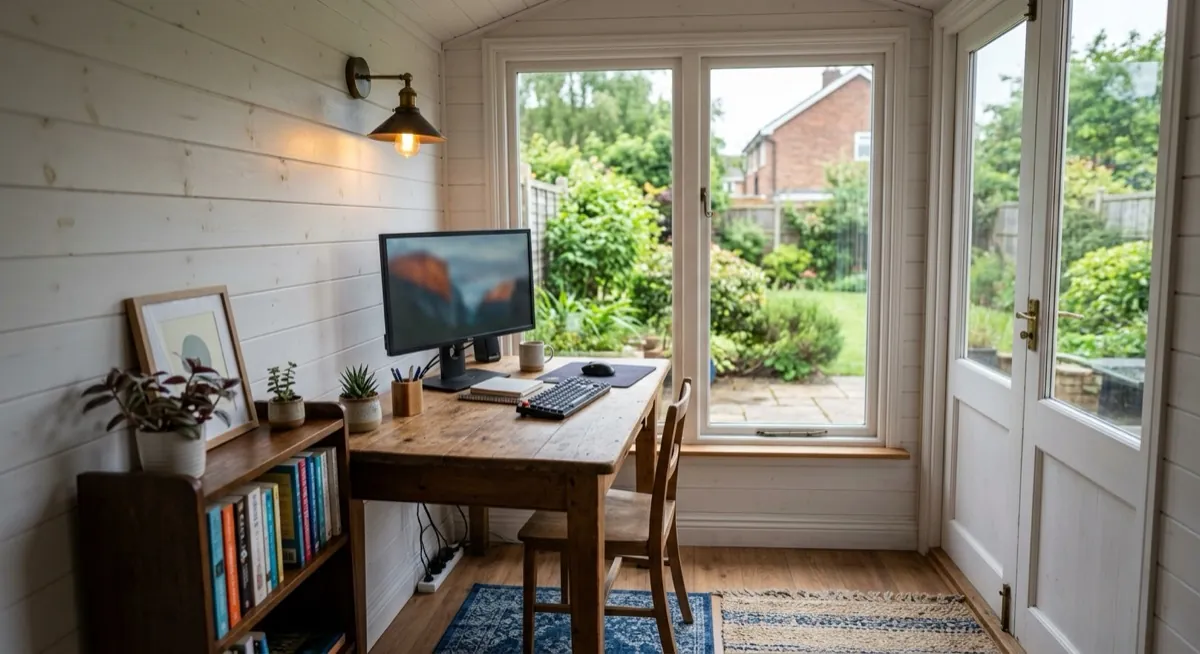
Over the insulation and VCL, line the walls with 9–12mm plywood or OSB (screw-friendly for shelves anywhere) or plasterboard for the crispest painted finish. Fill fixings, caulk the corners and paint; a bright white or warm off-white does wonders for perceived space and video-call light.
- Floor: laminate or LVT over the insulated deck is durable and office-chair-proof. Add a rug for warmth.
- Draughts: compression strip around the door, brush strip at the threshold, and sealant where cladding meets frame. Draughts undo insulation embarrassingly fast.
- Trims: skirting and window trims hide the lining edges and make it read as a room, not a lined shed.
Heating, Cooling and Internet
A properly insulated 8x6 to 10x8 office needs surprisingly little heat: a 500W–1kW panel heater or oil-filled radiator on a thermostat covers UK winters, and a £20 smart plug lets you warm it up from the kitchen before you walk down. For summer, a window you can open plus a blind on the sunny side beats a noisy fan; if you glazed generously, consider reflective film.
For internet, in order of preference: an outdoor-rated Ethernet cable in the same trench as the power (fastest, most reliable), a wireless point-to-point bridge on the office wall, or a mesh node if the office is close to the house. Test video calls at your actual desk position before declaring victory.
What It Costs
Typical all-in conversion costs for an existing sound 8x6 to 10x8 shed, doing the non-electrical work yourself:
| Item | Typical cost |
|---|---|
| Electrician: supply, consumer unit, sockets, lights | £500–£1,200 |
| PIR insulation (floor, walls, roof) | £250–£500 |
| Lining boards, fixings, sealant, paint | £200–£400 |
| Flooring | £100–£250 |
| Heater, draught-proofing, sundries | £80–£200 |
| Total | £1,100–£2,500 |
Compare that with £8,000–£25,000 for a turnkey garden office pod and the appeal is obvious. The middle route, a thick-walled log cabin you fit out yourself, lands between the two and skips the insulation stage entirely.
Summary
- Convert only a sound, dry, level shed; fix structure and roof first
- Electrician before insulation, insulation before lining
- 50mm PIR walls, roof to match, VCL on the warm side, and deliberate ventilation
- Ply or plasterboard lining, draught-proofing and a small thermostat heater finish the job
- Budget £1,100–£2,500 on an existing shed, a fraction of a turnkey pod
Design Your Office Shed
Starting from scratch? Use the garden office preset in our free builder to get a full materials list, cutting plan and cost for a purpose-built office shed.
Design a Garden Office