Sheds at Night: Lighting, Security and Using Your Shed After Dark
See the path, find the lock and work comfortably inside. A practical guide to lighting your shed without flooding the whole garden.
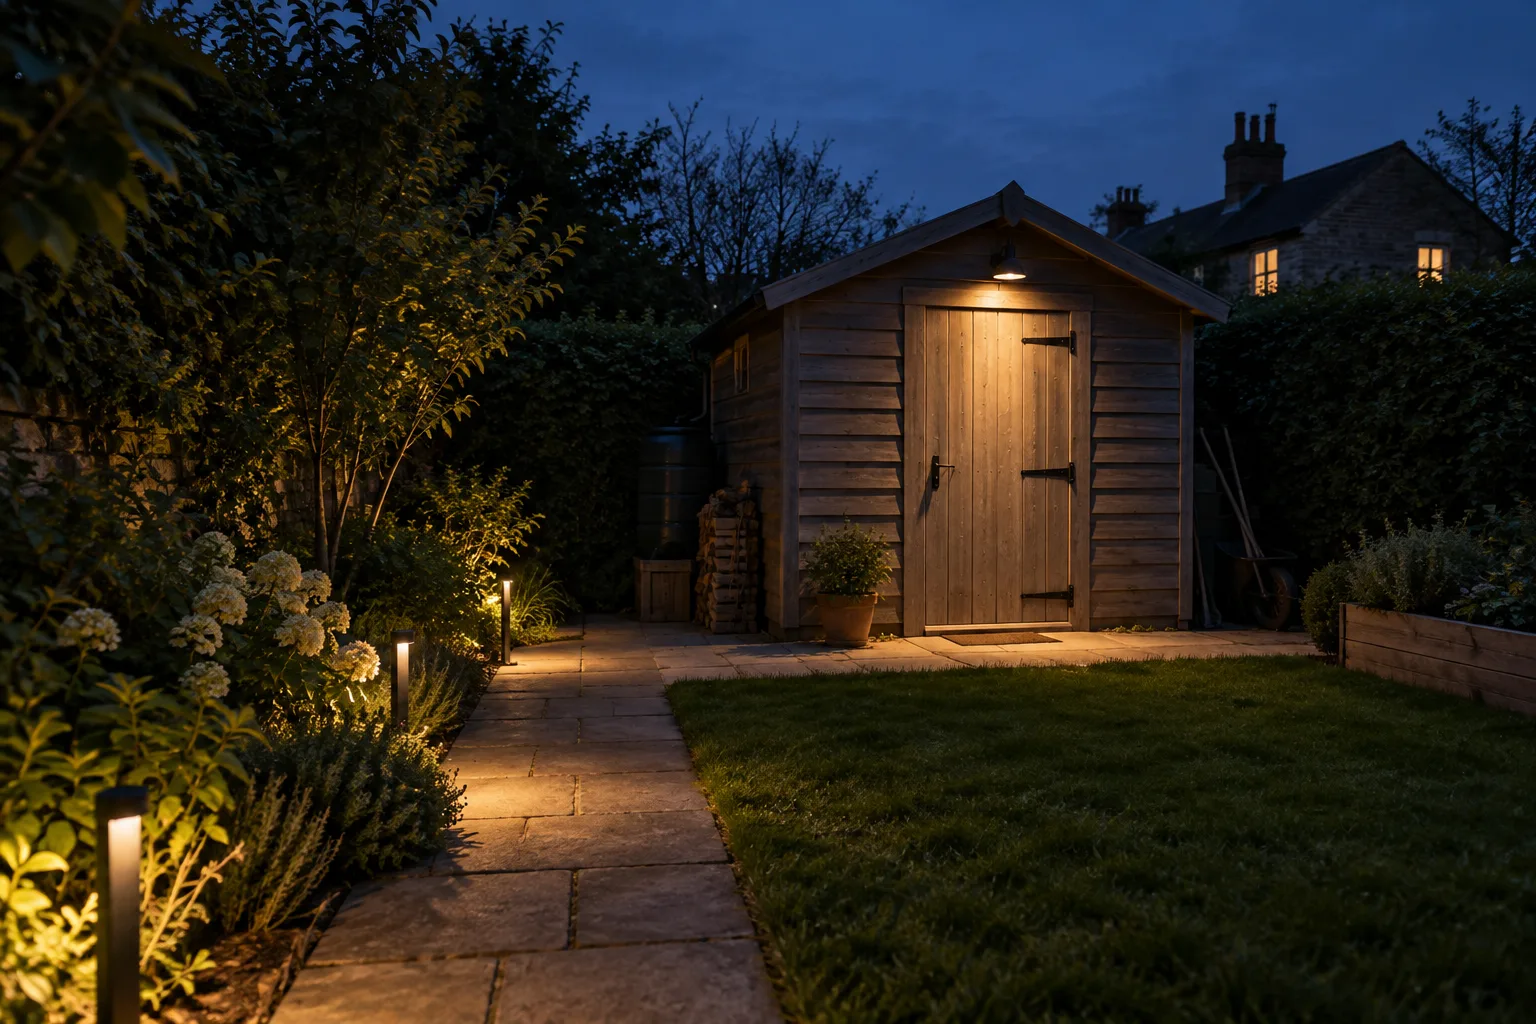
A shed that is easy to use in daylight can be awkward after dark. The path disappears, the lock sits in shadow and a single bright lamp may leave you looking straight into glare. Good night-time lighting starts with those specific problems.
This guide covers getting to the shed, seeing what you are doing inside and leaving it secure afterwards. It compares battery, solar and mains options, explains where sensors help, and shows how to keep unnecessary light away from neighbours and wildlife.
Light the route, the doorway and the task separately. Use suitable fittings, put controls within easy reach and test the result after dark. A brighter floodlight is rarely the answer to every problem.
Start with a walk from the house
Take a torch and follow your normal route at night. Look for changes of level, a slippery patch, an overhanging plant and anything that is difficult to distinguish from the ground. Check the return journey too: a light that helps you approach the shed may shine directly into your eyes when you walk back.
At the doorway, try finding the keyhole and opening the door while carrying something light. Can you see the threshold before stepping over it? Does the open door block the lamp? Can you switch on the interior light without reaching past tools?
Write down the dark spots before choosing products. Clearing a path, moving a bucket or making a step edge easier to distinguish may solve part of the problem without adding another light. Lighting should reveal a usable route, not disguise a badly arranged one.
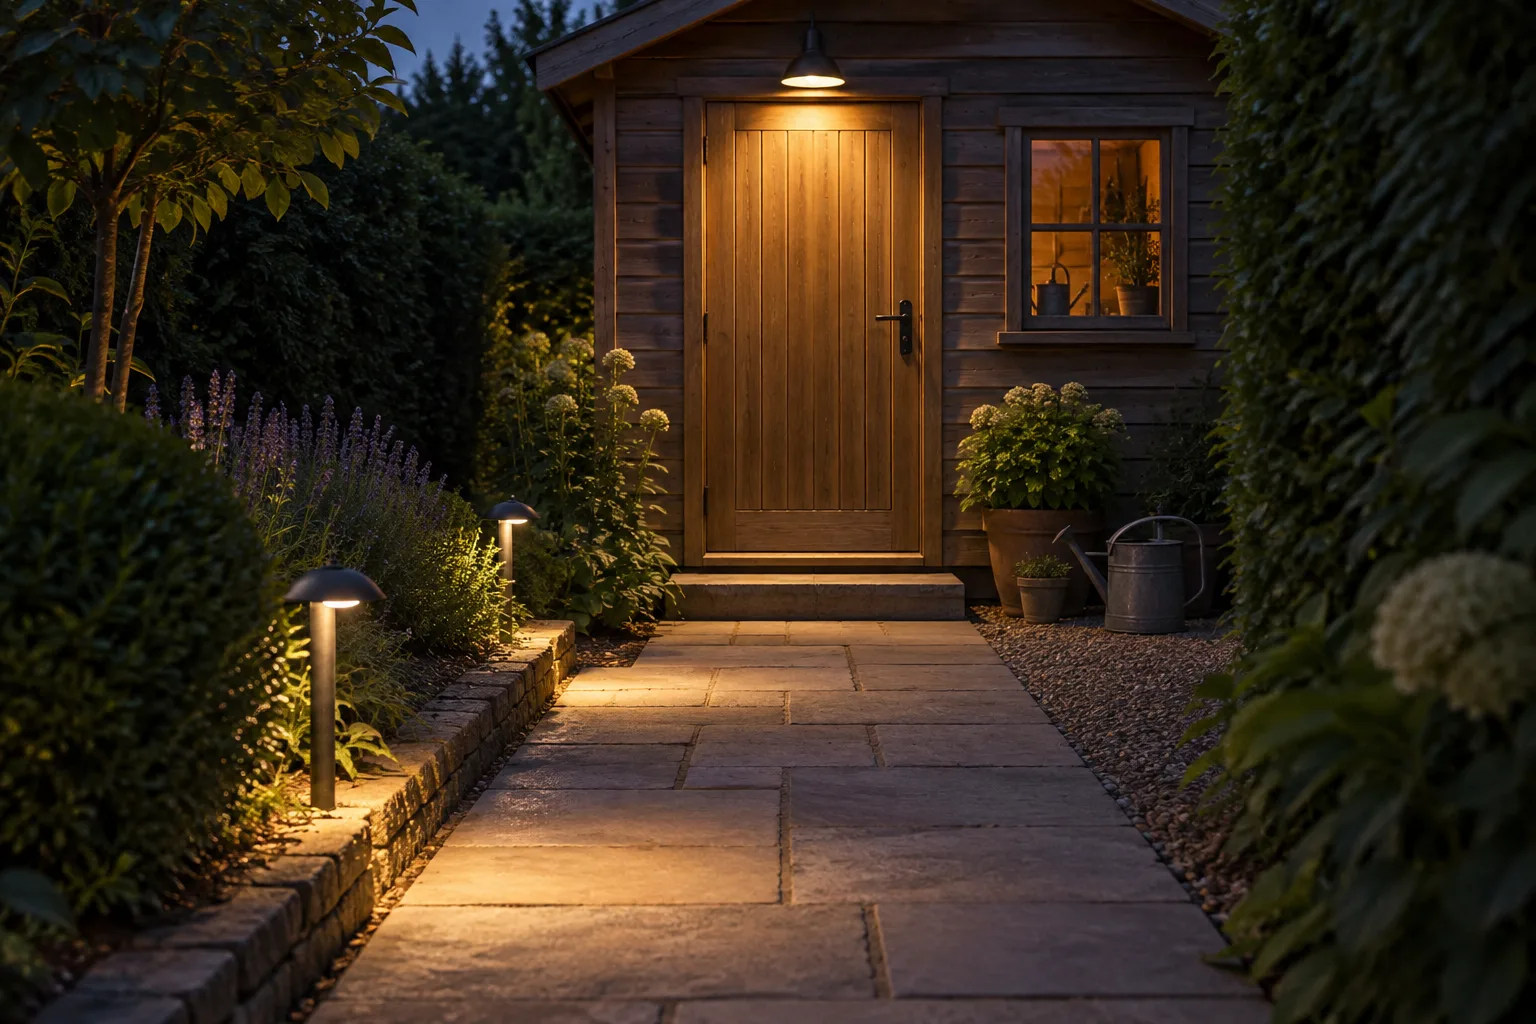
Plan three lighting zones
Swipe the table sideways to see all columns.
| Zone | What you need to see | Useful approach |
|---|---|---|
| Path and steps | The walking surface, changes of level and obstacles | Shielded light directed onto the route, with controls available before entering darkness |
| Door and threshold | The lock, handle, step and opening door | A downward-facing entrance light positioned so the door does not hide it |
| Interior and work area | Shelves, the floor and the task in your hands | General light for the room, plus a separate task light where needed |
Switching these separately avoids lighting the whole garden just to find something on a shelf. It also lets you leave an appropriate route light on while you are inside, without keeping every outside fitting illuminated.
There is no universal number of lamps for a shed. The layout, surfaces, shelves and task all affect the result. A small empty room and the same room packed with tall storage can behave quite differently.
Interior shed lighting: avoid working in your own shadow
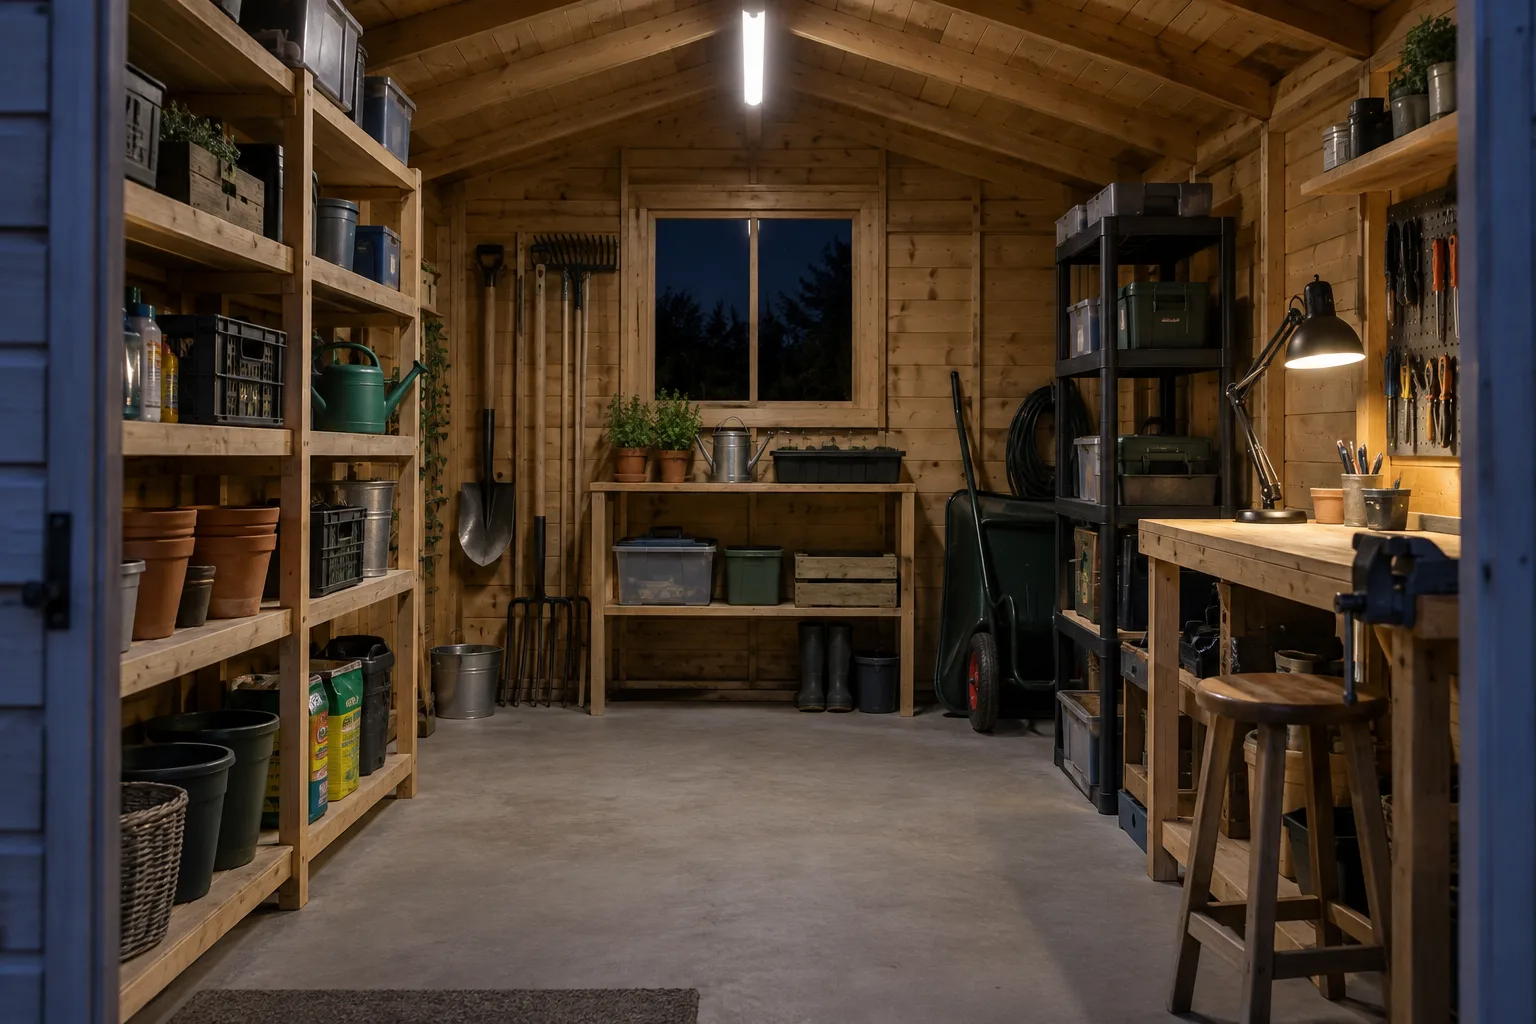
A light directly behind you can leave the shelf or workbench in shadow. Position task lighting so that your hands, body and an open cupboard door do not block the useful light. Try the arrangement in the position where you actually stand or sit.
A diffused ceiling fitting can provide general visibility, while an adjustable lamp serves a bench. Aim for an even view of the floor and storage rather than a brilliant spot surrounded by darkness. Avoid exposed bright sources in your normal line of sight.
Compare light output in lumens rather than assuming a higher wattage means a more useful lamp. Lumens describe the output of the source; how much reaches your work depends on distance, direction and the fitting. The Energy Saving Trust’s lighting guide explains the difference between brightness, colour and energy use.
For detailed work, judge the result on the actual task. Being able to find a watering can is not evidence that you have adequate light for cutting, machinery or fine assembly. Keep a clear route to the door and use task-specific guidance for workshop activities.
If shelves are creating awkward access as well as shadows, try their positions in the garden storage planner. It helps compare footprints; check real visibility and movement in the shed afterwards.
Battery, solar or mains-powered lights?
Swipe the table sideways to see all columns.
| Option | A possible fit | What to check |
|---|---|---|
| Battery or rechargeable | Occasional visits, small storage sheds and a backup light | Runtime at the brightness you need, charging arrangements and suitability for the conditions |
| Solar with battery storage | An entrance light where the panel gets enough daylight | Panel position, winter performance and how long the light runs in its selected mode |
| Mains-powered | Frequent use and longer sessions | A suitable electrical supply, installation, protection and appropriate fittings |
Battery lighting: simple, but give it a routine
A removable rechargeable lamp can be useful when you only visit the shed briefly. Put it somewhere accessible, keep track of its charge and follow the manufacturer’s storage and charging instructions. A lamp buried at the back of a dark shelf is a poor backup.
Compare the stated runtime for the mode you intend to use. A headline runtime may refer to a low setting rather than the brightest one. Treat claims about sensing distance and battery life as something to check in your own layout, not a substitute for an evening trial.
Solar lighting: position the panel, not just the lamp
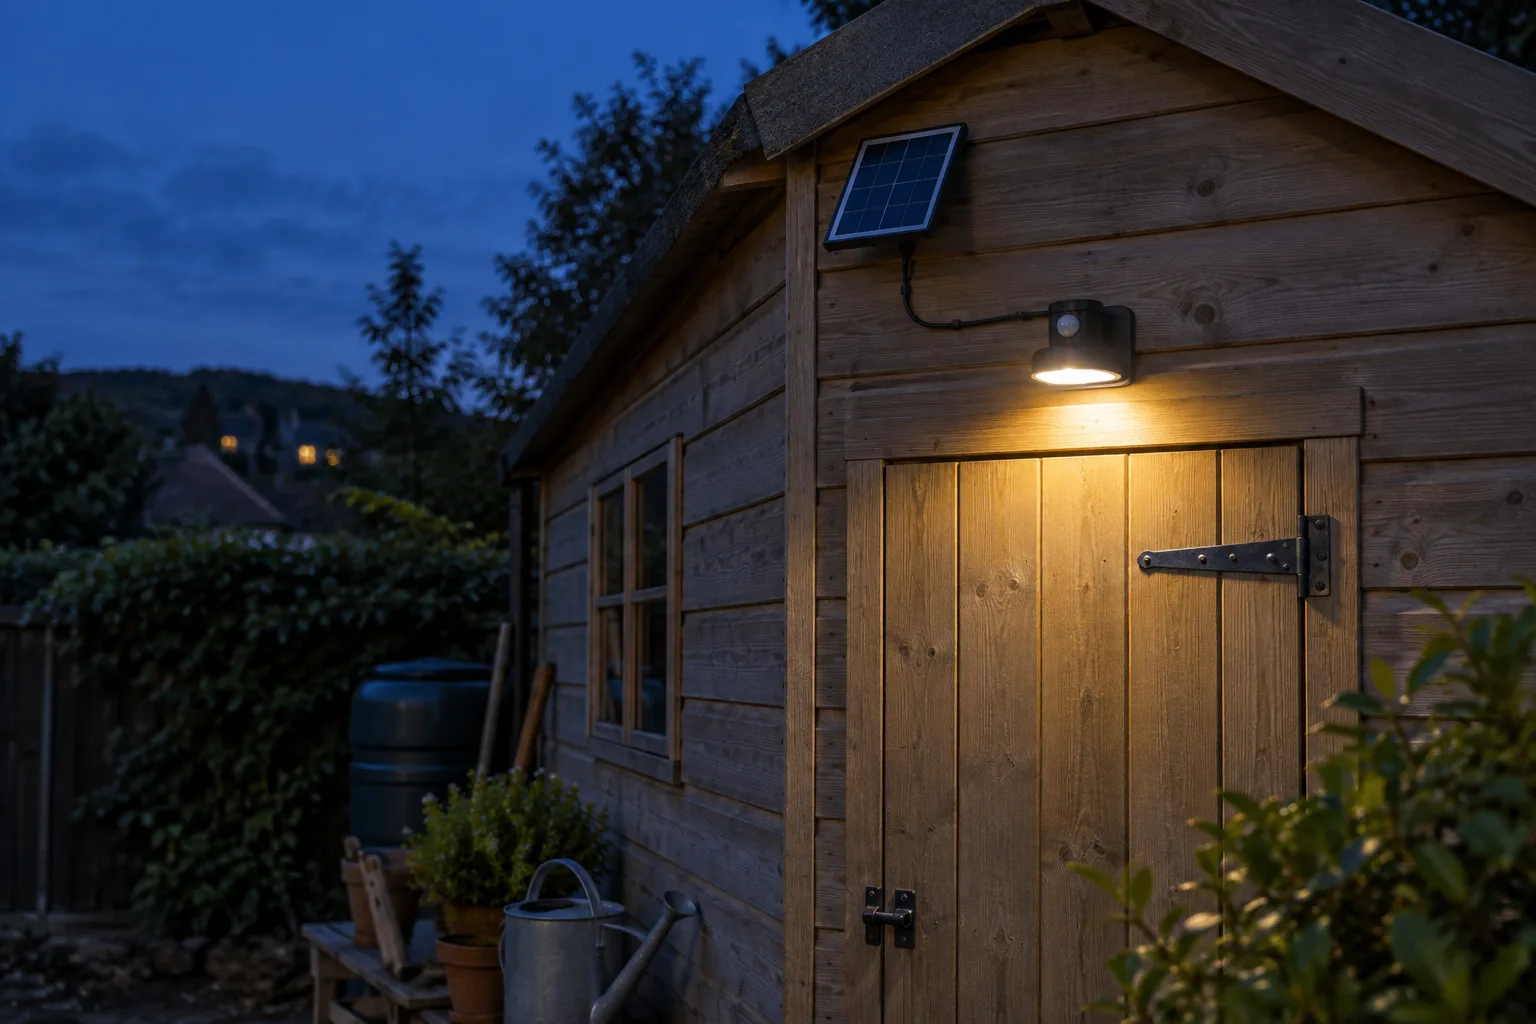
A convenient lamp position may be a poor charging position. A separate panel gives you more freedom to place the light near the door and the panel where it receives daylight, within the product’s cable and mounting limits.
For an example of the limitations to look for, Which?’s solar-light testing notes that winter runtime varies. Check the manufacturer’s winter guidance and test through dull weather before relying on a solar lamp for essential access. Keep a dependable alternative available.
Inspect the panel for leaves, dirt and new shading, and clean it as instructed. Do not assume that a light working well on a summer evening will provide the same service throughout December.
Mains lighting: plan the supply properly
For a permanent mains installation, use a registered electrician to assess the supply, protective devices, cable route and fittings. The Electrical Safety First garden guide recommends RCD protection for outdoor electrical equipment. An RCD provides additional protection; it does not make unsuitable equipment or damaged wiring safe.
Do not improvise a permanent supply with a lead trapped through a window or stretched across the garden. For an overview of what to discuss with an electrician, see our shed electrics guide. This article is about choosing and using lighting, rather than wiring it.
Choose fittings for their actual location
A sheltered doorway can still be exposed to wind-driven rain, while an unheated shed may experience damp conditions. Select equipment explicitly suitable for where it will be used, and follow the installation instructions for the light, cable, connections and any power supply.
An IP rating describes enclosure protection against ingress; it is not a blanket approval for every outdoor location. Do not choose solely from a photograph or a “weatherproof” label. The mounting position, exposure and instructions still matter. Electrical Safety First’s outdoor-lighting report stresses correct installation, suitable placement of plugs and transformers, and following the manufacturer’s instructions.
Check that the fitting is suitable for its mounting surface, including timber. Do not enclose a lamp, cover ventilation openings or substitute a power supply unless the manufacturer allows it. If water gets into electrical equipment or a fitting is damaged, stop using it and arrange an appropriate assessment.
Motion sensors, switches and timers
A motion sensor is useful for arriving with your hands full. Set it so the light comes on before you reach the step or lock, then test the approach from both directions. Check how the opened door, a growing plant or a parked wheelbarrow affects detection.
Inside a shed, a sensor may not notice you when you remain relatively still at a bench. Choose a suitable manual control or supported override for longer visits. You should not have to wave your arms to keep a working area lit.
Timers and dusk sensors solve different problems. A timer follows a schedule; a dusk sensor responds to ambient light; a motion sensor responds to movement. Some products combine these. Read how your chosen modes interact and confirm what happens after a power interruption.
Avoid nuisance triggering from the pavement or moving vegetation where the product’s adjustment permits. Use the shortest operating period that still supports safe access. Do not shorten it so much that someone is left in darkness halfway along the path.
Security lighting is one part of shed security
A light can make an approach easier to see, but it cannot secure a weak door or stop tools being removed. Police.uk’s shed-security advice covers locks, alarms and securing valuable items. Review those alongside lighting rather than treating the brightest fitting as the main defence.
Stand outside while the interior light is on. A window that looks discreet in daylight may reveal the contents clearly at night. Consider a suitable blind or opaque covering, keeping it clear of lamps and anything that needs ventilation. Our windows and doors guide and shed security guide cover the building details.
If you use a camera, check its actual night image after changing the lighting. Look for glare, reflections and areas where details disappear. A lamp aimed straight at the camera can defeat the view you wanted; test the position rather than relying on how bright the garden looks to your eyes.
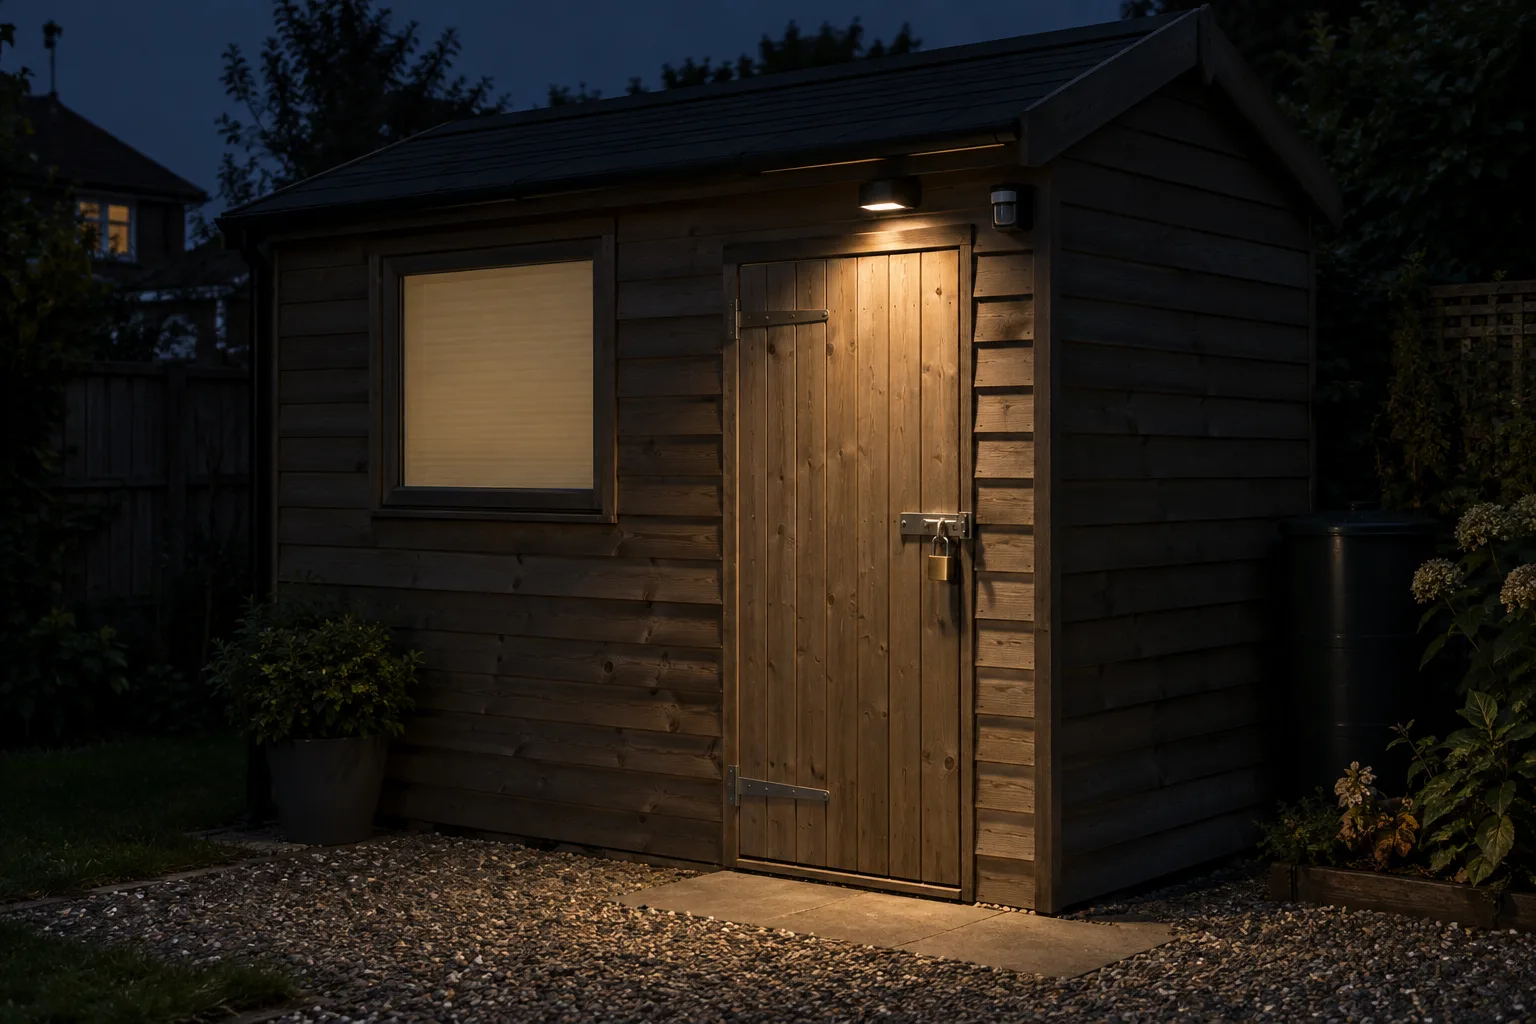
Whether an outside light should operate on demand or for longer periods depends on the site and security needs. Avoid presenting an empty garden to neighbours as a floodlit stage. If there is a particular security concern, seek advice for the property and balance it with controlled light spill.
Keep light out of neighbours’ windows and wildlife routes
Check the fitting from the garden boundary as well as the shed door. If the bright source is visible from a neighbouring window or seating area, shielding, re-aiming or a different position may help. Avoid pointing a floodlight horizontally across the fence.
The Bat Conservation Trust recommends keeping gardens dark where possible. Where light is needed, limit it to the place and time it serves a purpose. Keep illumination away from hedges, trees and potential roost entrances; do not assume a warm-coloured lamp has no effect on wildlife.
Use a shielded, downward-facing fitting and the lowest output that still gives adequate visibility. Warm light can be part of a considered choice, but direction, duration and maintaining dark areas matter too. Where bats are known or suspected to use a building or route, get appropriate advice before changing the lighting; see the Trust’s guidance on artificial lighting.
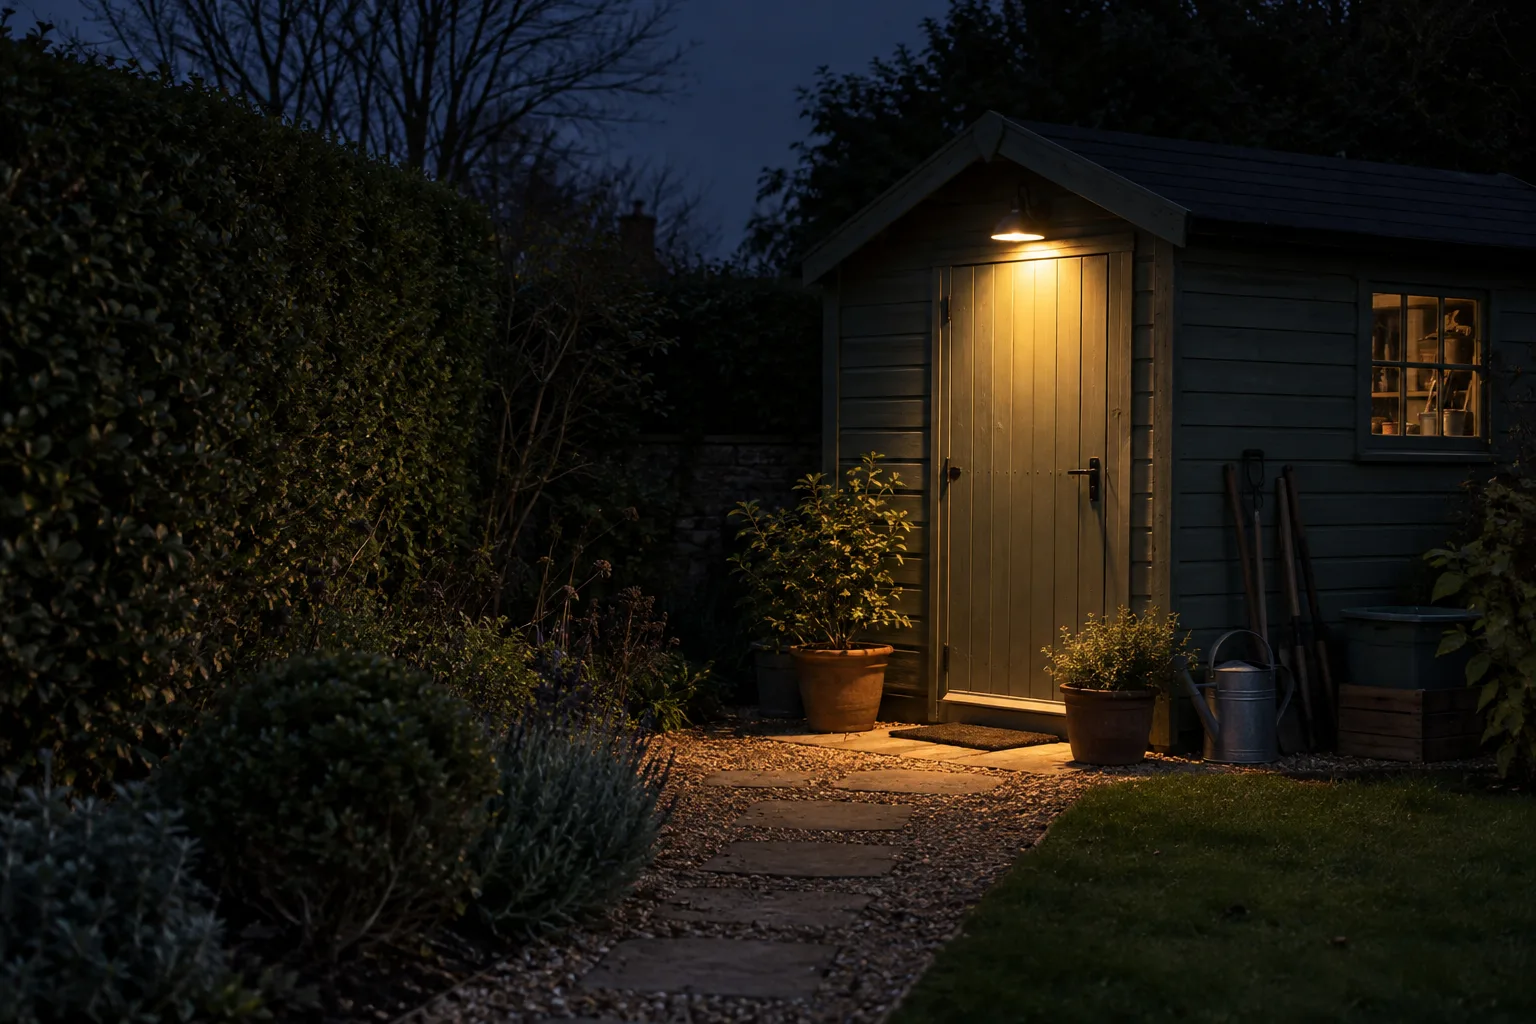
Decorative lights and access lights need not share the same schedule. Switch off lighting that no longer serves a purpose while keeping a suitable way to see your route home.
Three example setups to adapt
A small storage shed without power
Start with a dependable portable light for the journey and a battery lamp accessible at the door. Add a suitable entrance light if it solves a real dark spot. Consider solar only after checking where the panel can go and how it performs when you need it. Keep the arrangement simple enough that batteries and charging are not forgotten.
A shed used regularly as a workshop
Discuss a permanent lighting supply with an electrician. Separate general room lighting from task lighting, and consider how you will see the route back to the house. Trial the working positions with cupboards open and equipment in place. More floor space does not remove shadows caused by your own body.
A shed close to a boundary hedge
Begin with the minimum area that needs illumination. Keep the lamp close to the doorway, shield it from the boundary and avoid washing the hedge with light. Check the sensor’s reach and runtime. If that cannot provide a suitable arrangement, reconsider the position or use a portable solution rather than simply increasing the output.
Your after-dark check
- Can you see the whole walking route, including steps, in both directions?
- Does the entrance light reveal the lock and threshold with the door open and closed?
- Can you operate the interior light before moving past stored equipment?
- Are shelves and work surfaces visible without your body blocking the light?
- Will the lights stay on for the full time you need them?
- Have you checked batteries, solar charging and the backup light?
- Are the fittings and connections suitable for their locations?
- Do blinds prevent the interior becoming a display of valuables?
- Is light kept away from neighbouring windows, hedges and trees?
- Can you lock up and get back to the house without being left in darkness?
Repeat the check when the seasons change or you rearrange the shed. A different sunset time, thicker foliage or a tall new shelf can change how a previously useful setup works.
Common questions
Can I light a shed without mains electricity?
Yes. Battery and rechargeable lights can suit occasional use, while a suitable solar product may help at an entrance. Match the runtime and conditions to your needs, and keep an alternative for essential access.
Should I leave the shed light on all night?
There is no universal answer. Interior lighting is normally only needed while the shed is being used. Choose outside controls to meet the actual access and security need, limiting unnecessary light and checking local conditions.
What is the best IP rating for a shed light?
It depends on the location and exposure. Follow the product’s instructions and have an electrician specify appropriate mains fittings. A single rating is not enough to judge the whole installation.
Why does a bright shed light still make it hard to see?
Glare, sharp contrast and shadows may be the problem. Try changing the direction, shielding or position, and provide light at the task instead of increasing the output of one distant lamp.
Images are AI-generated illustrations of possible lighting arrangements, not installation diagrams or product recommendations. Guidance checked September 2026.
Check the rest of your shed security
Lighting works alongside a sound door, appropriate locks and a sensible arrangement for valuable contents.
Read the shed security guide →